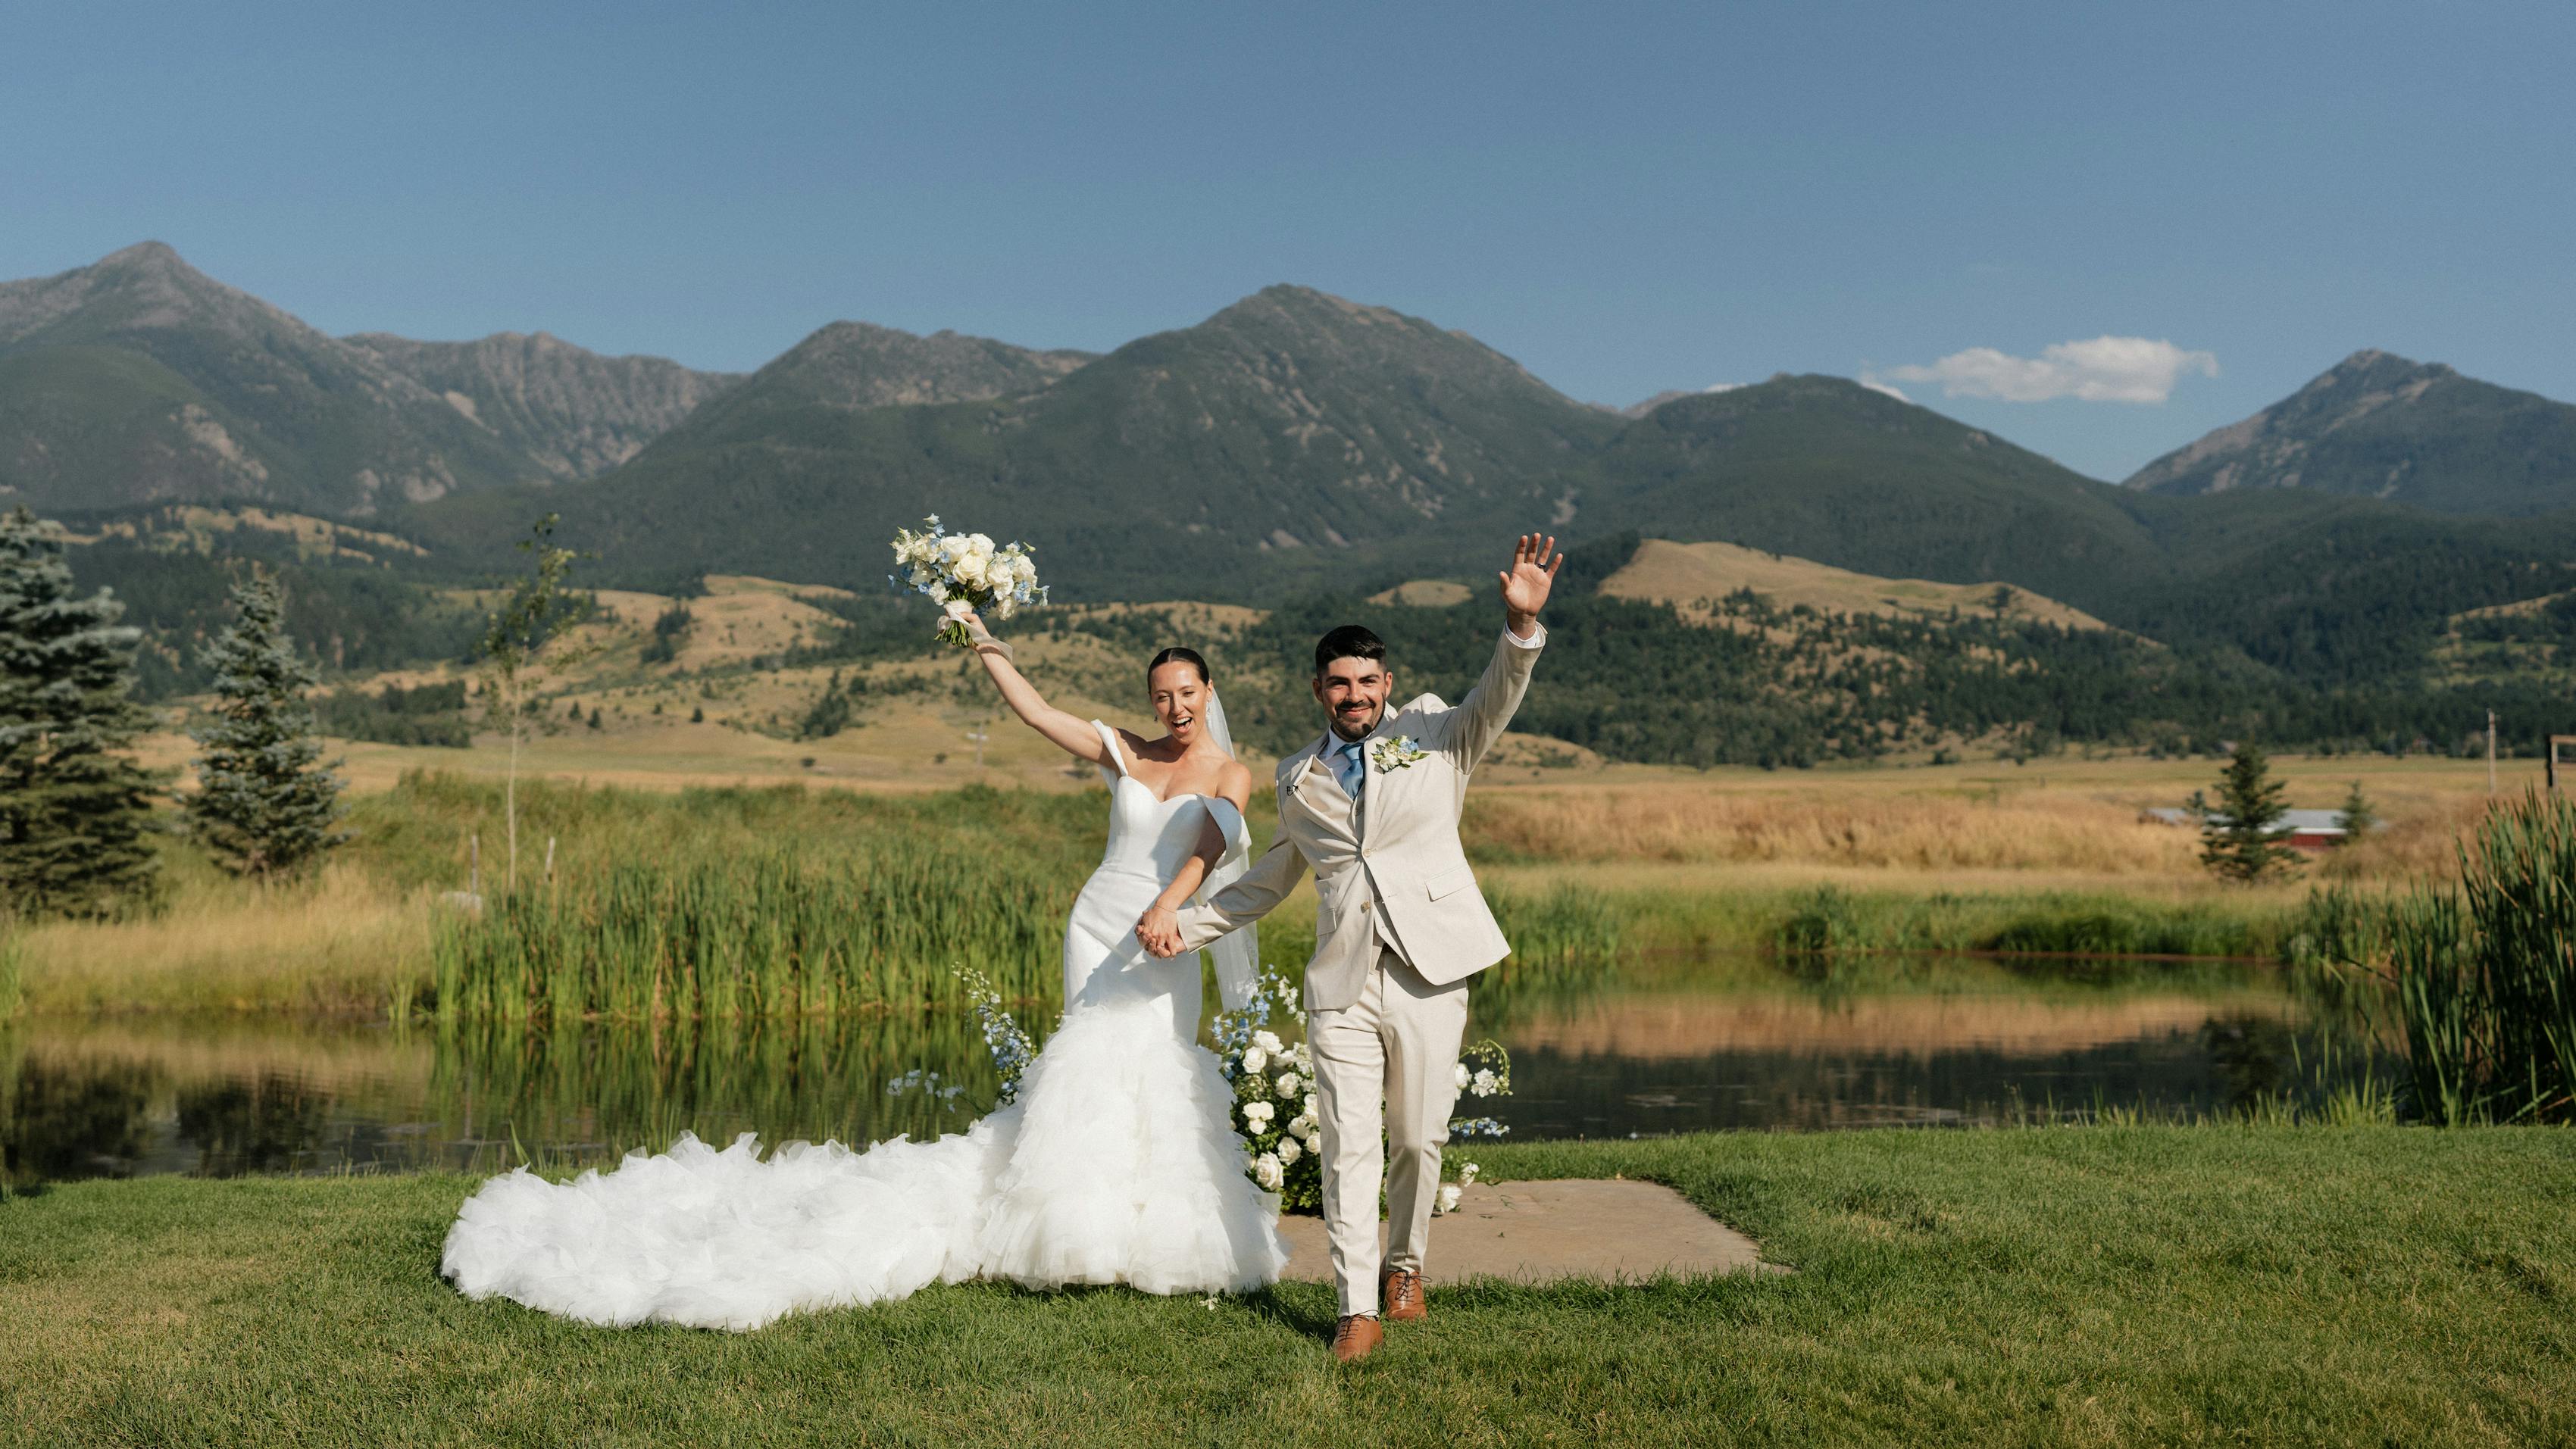
Looking dapper on your big day starts with the wedding suit but ends with the details. A small but significant one, the boutonniere, plays a key role in making sure your look is cohesive. It typically matches or coordinates with the bride’s bouquet and is worn by the groom as well as his groomsmen. While you’re fine buying your boutonniere along with other accessories like your tie, socks and pocket squares, you can also get creative and save some funds for the rest of the celebration by making your DIY wedding boutonnieres. Plus, it’s all about standing out on your big day, and adding a personal, hand-crafted touch to your outfit is just one more way to personalize it.
Before
What do sports, speeches and DIY boutonnieres all have in common? They all require practice if you want to nail it when the big day rolls around! So don’t wait until the last minute to try making your boutonniere. At this point, you and your bride should know which flowers and color scheme you’re using for your wedding. Buy a generous amount of each of the boutonniere elements and take the time to make a couple arrangements for practice. When you’re ready to make the real one, do so a day before the wedding.
Supplies
- Scissors
- Wire cutter
- Floral wire
- Green floral tape
- Boutonniere pins
- Flowers of choice
During
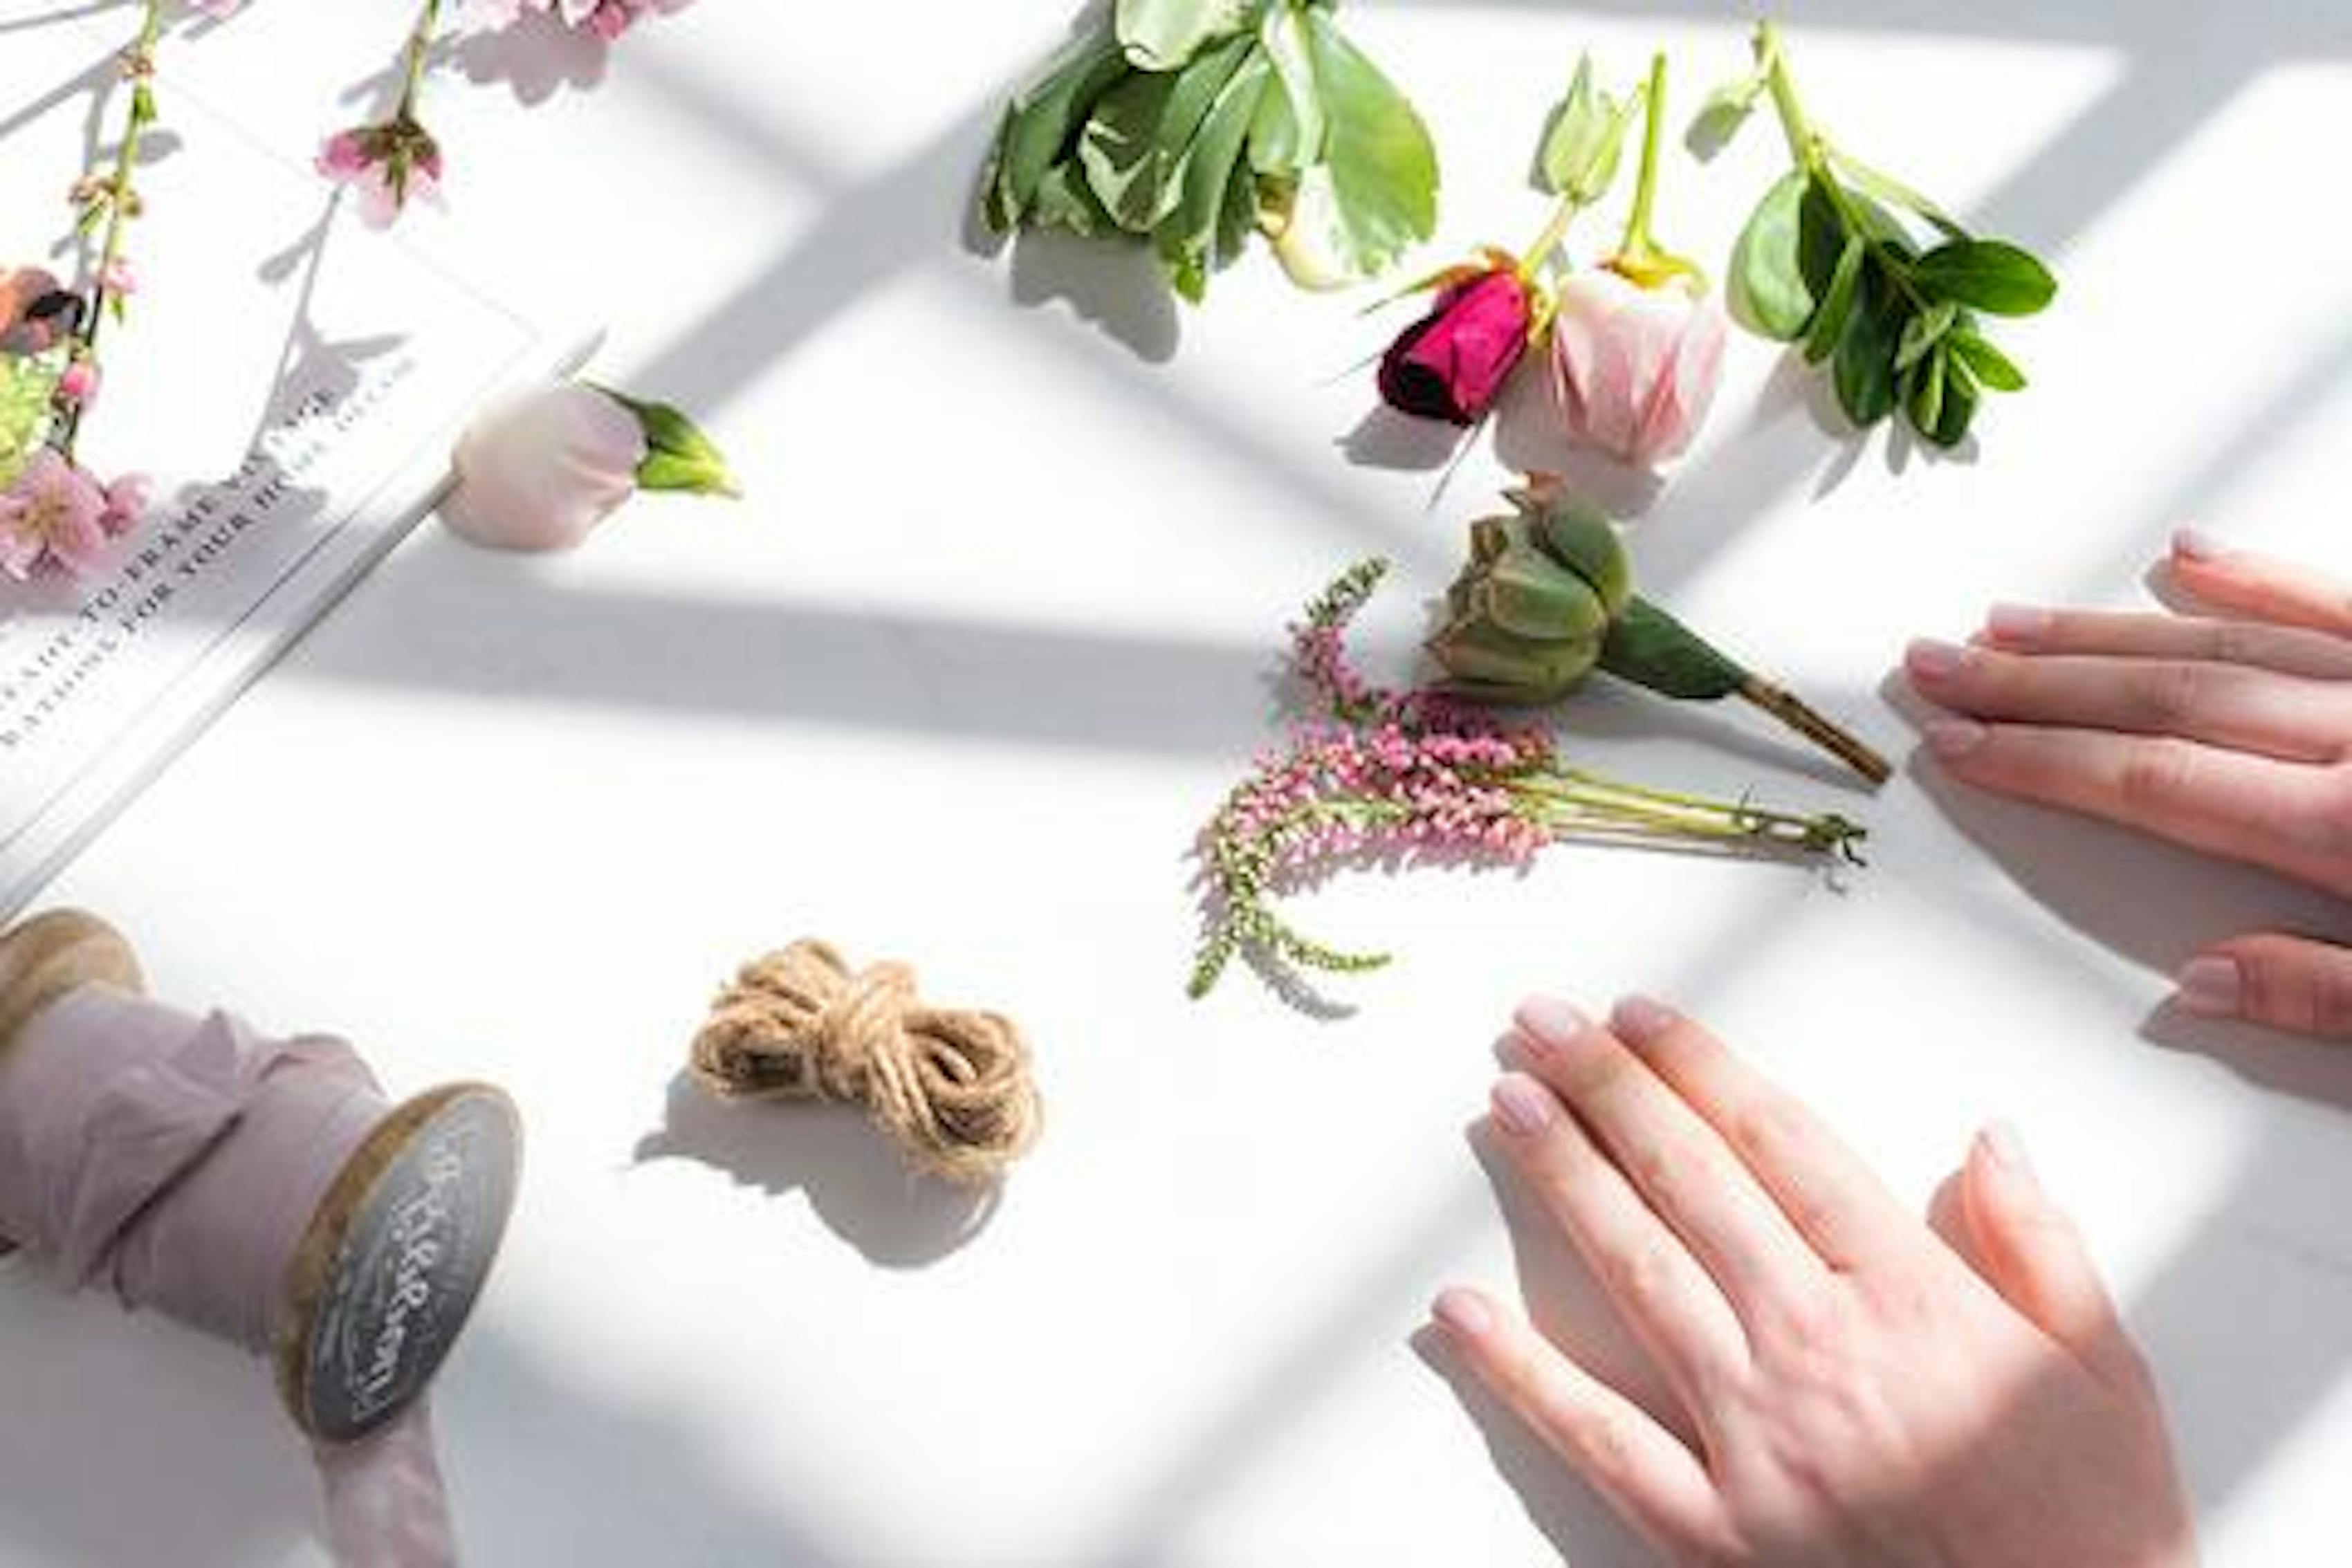
- Before trimming any stems, experiment with the placement of all your elements, with the greenery or dainty flowers acting as the “bed,” or background, for your focal flower. Our top picks for the main bloom are roses, calla lilies and tulips, though modern grooms are even using succulents in place of traditional focal florals.
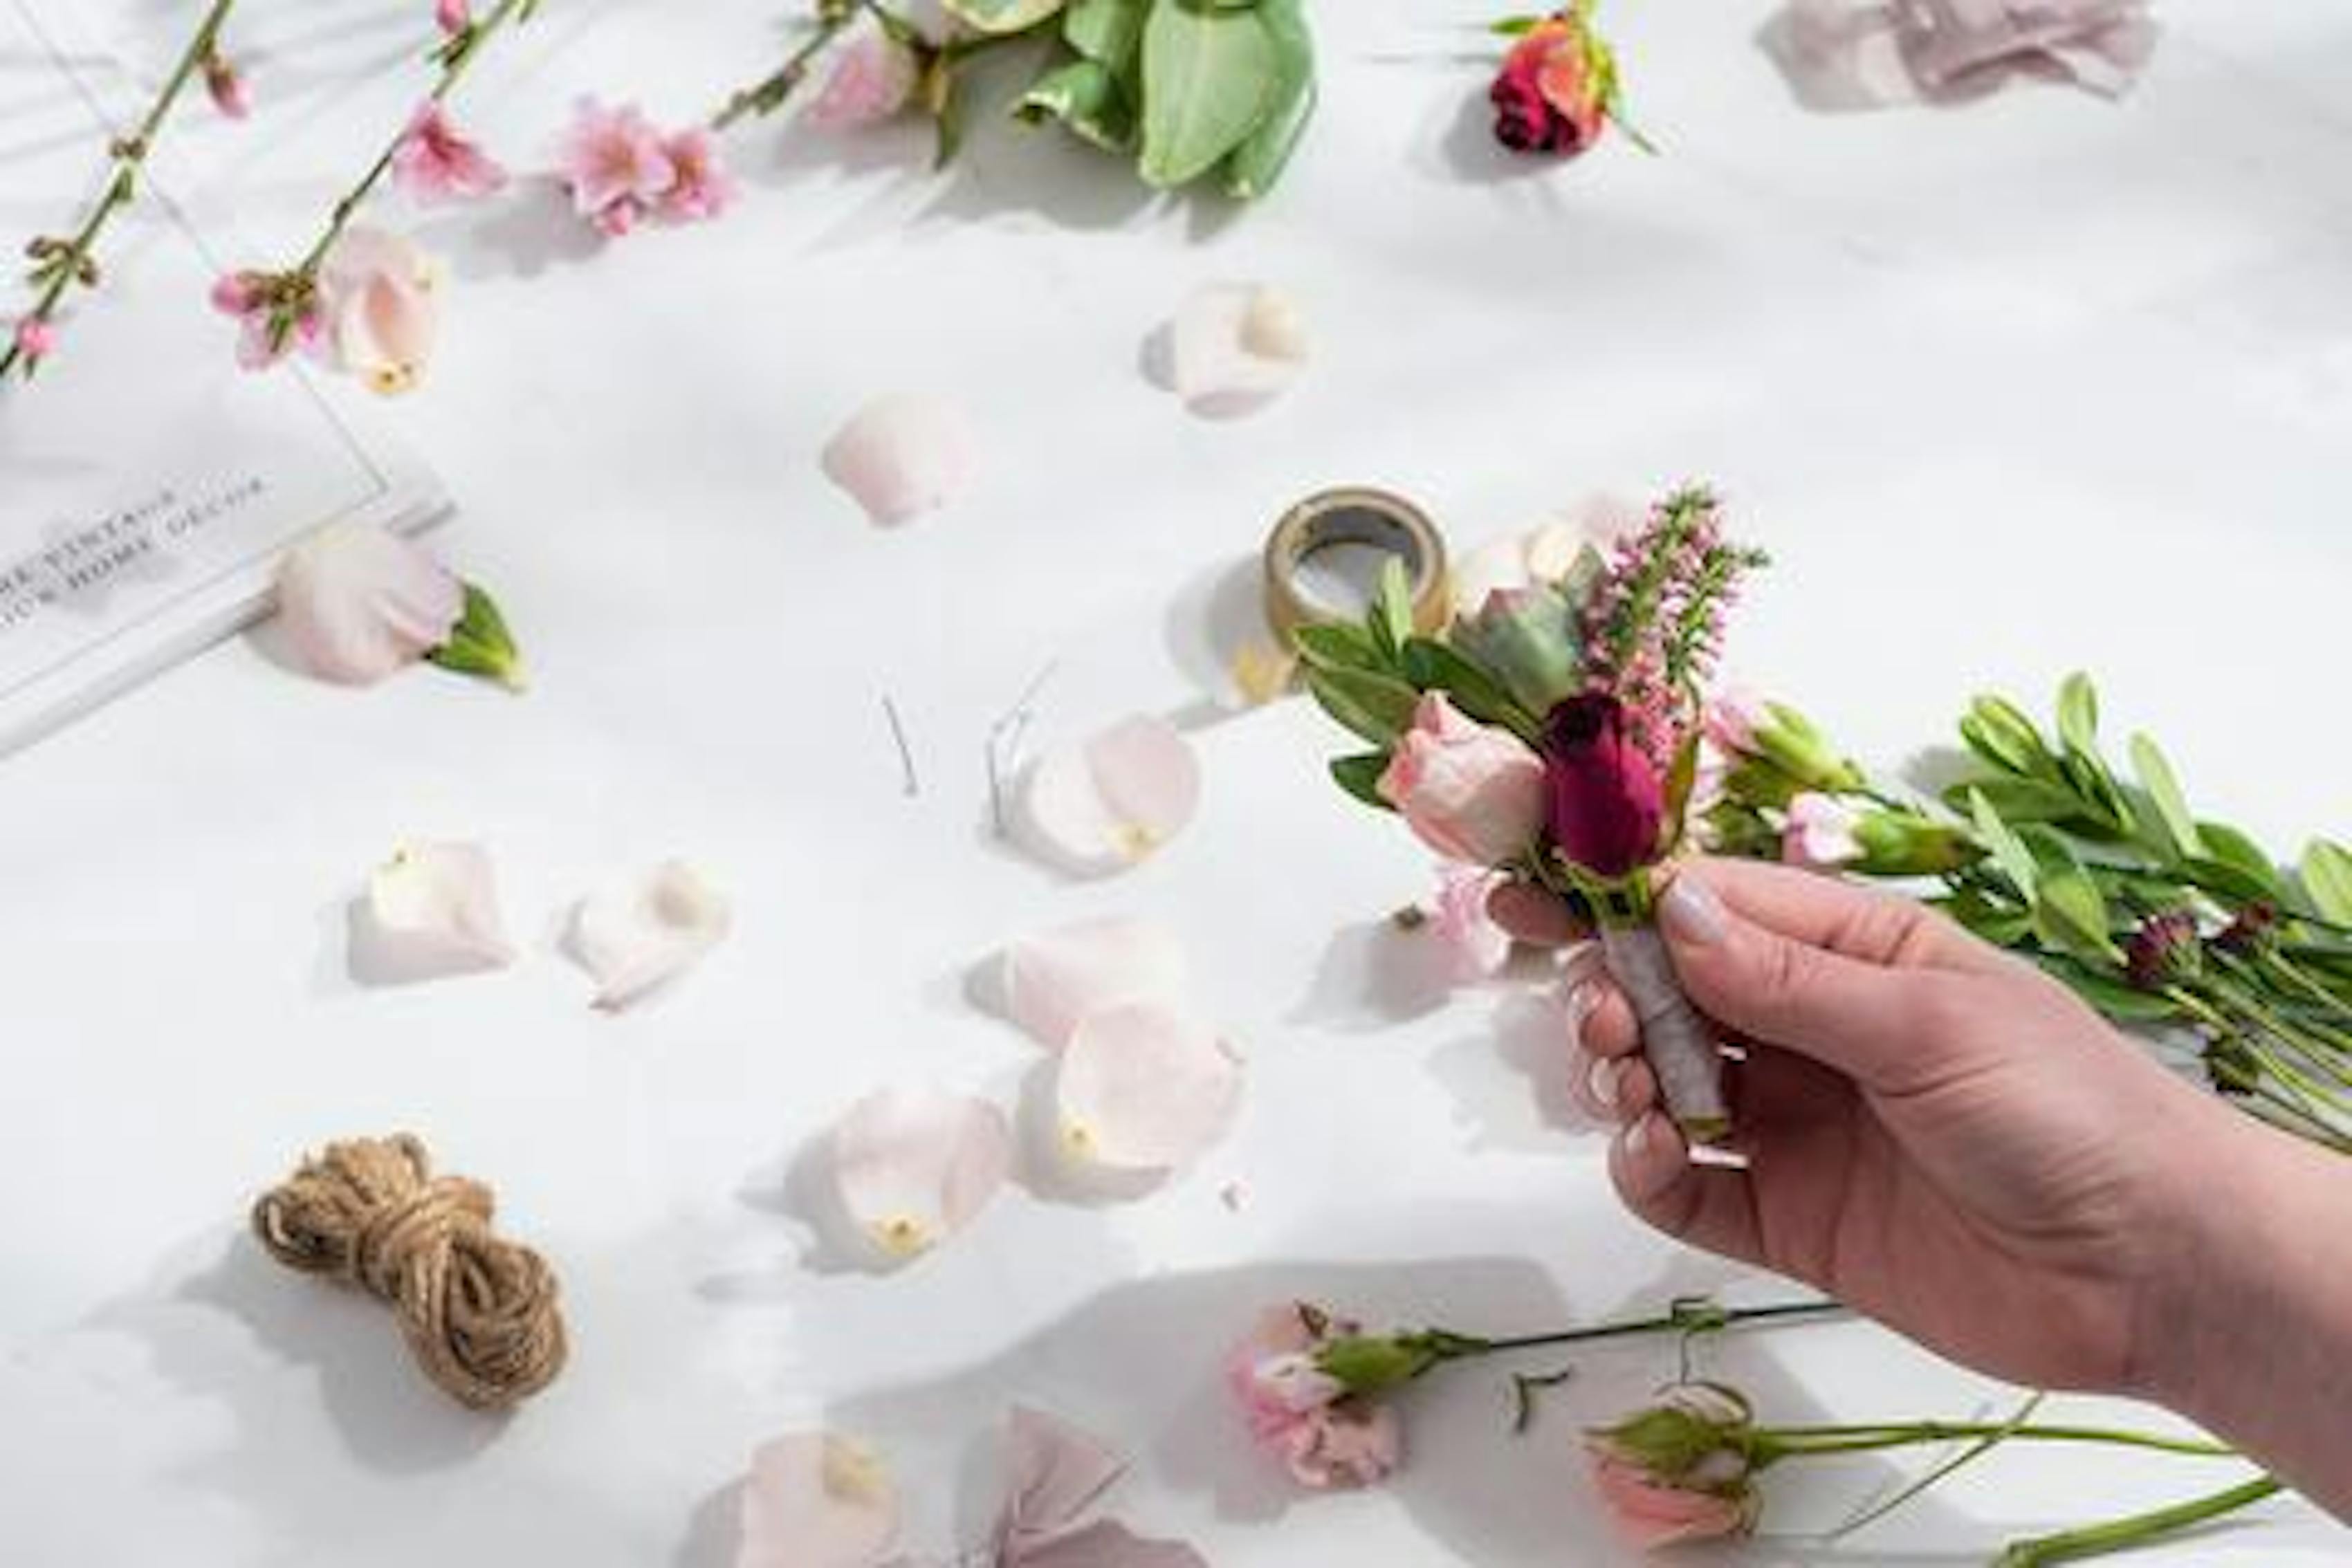
- Once you pick your standout plant, wrap its stem with floral tape first. If you’re using a larger flower like a rose as your focal point, you can pierce the stem right under the bloom with floral wire, pull it halfway through and twist the two sides of the wire down and around the stem. Starting at the top of the stem, begin tightly wrapping floral tape around the stem diagonally for about an inch and a half. Trim the stem and wire diagonally to about 2-3 inches, then wrap it all the way back to the top.
- The bed balances the rest of the look. Start with elements of greenery like pine or herbs then add a contrasting hue like baby’s breath, lavender or snowberries under or alongside the main bloom. There’s no hard rule on whether you should have both the greenery bed and the contrasting element or one just one of them. That’s up to your taste! Once you’re satisfied with a look, remove any leaves or protruding stems on the bottom half of the complementary plants so each has a distinct stem. Trim all stems diagonally to about 2-3 inches long.
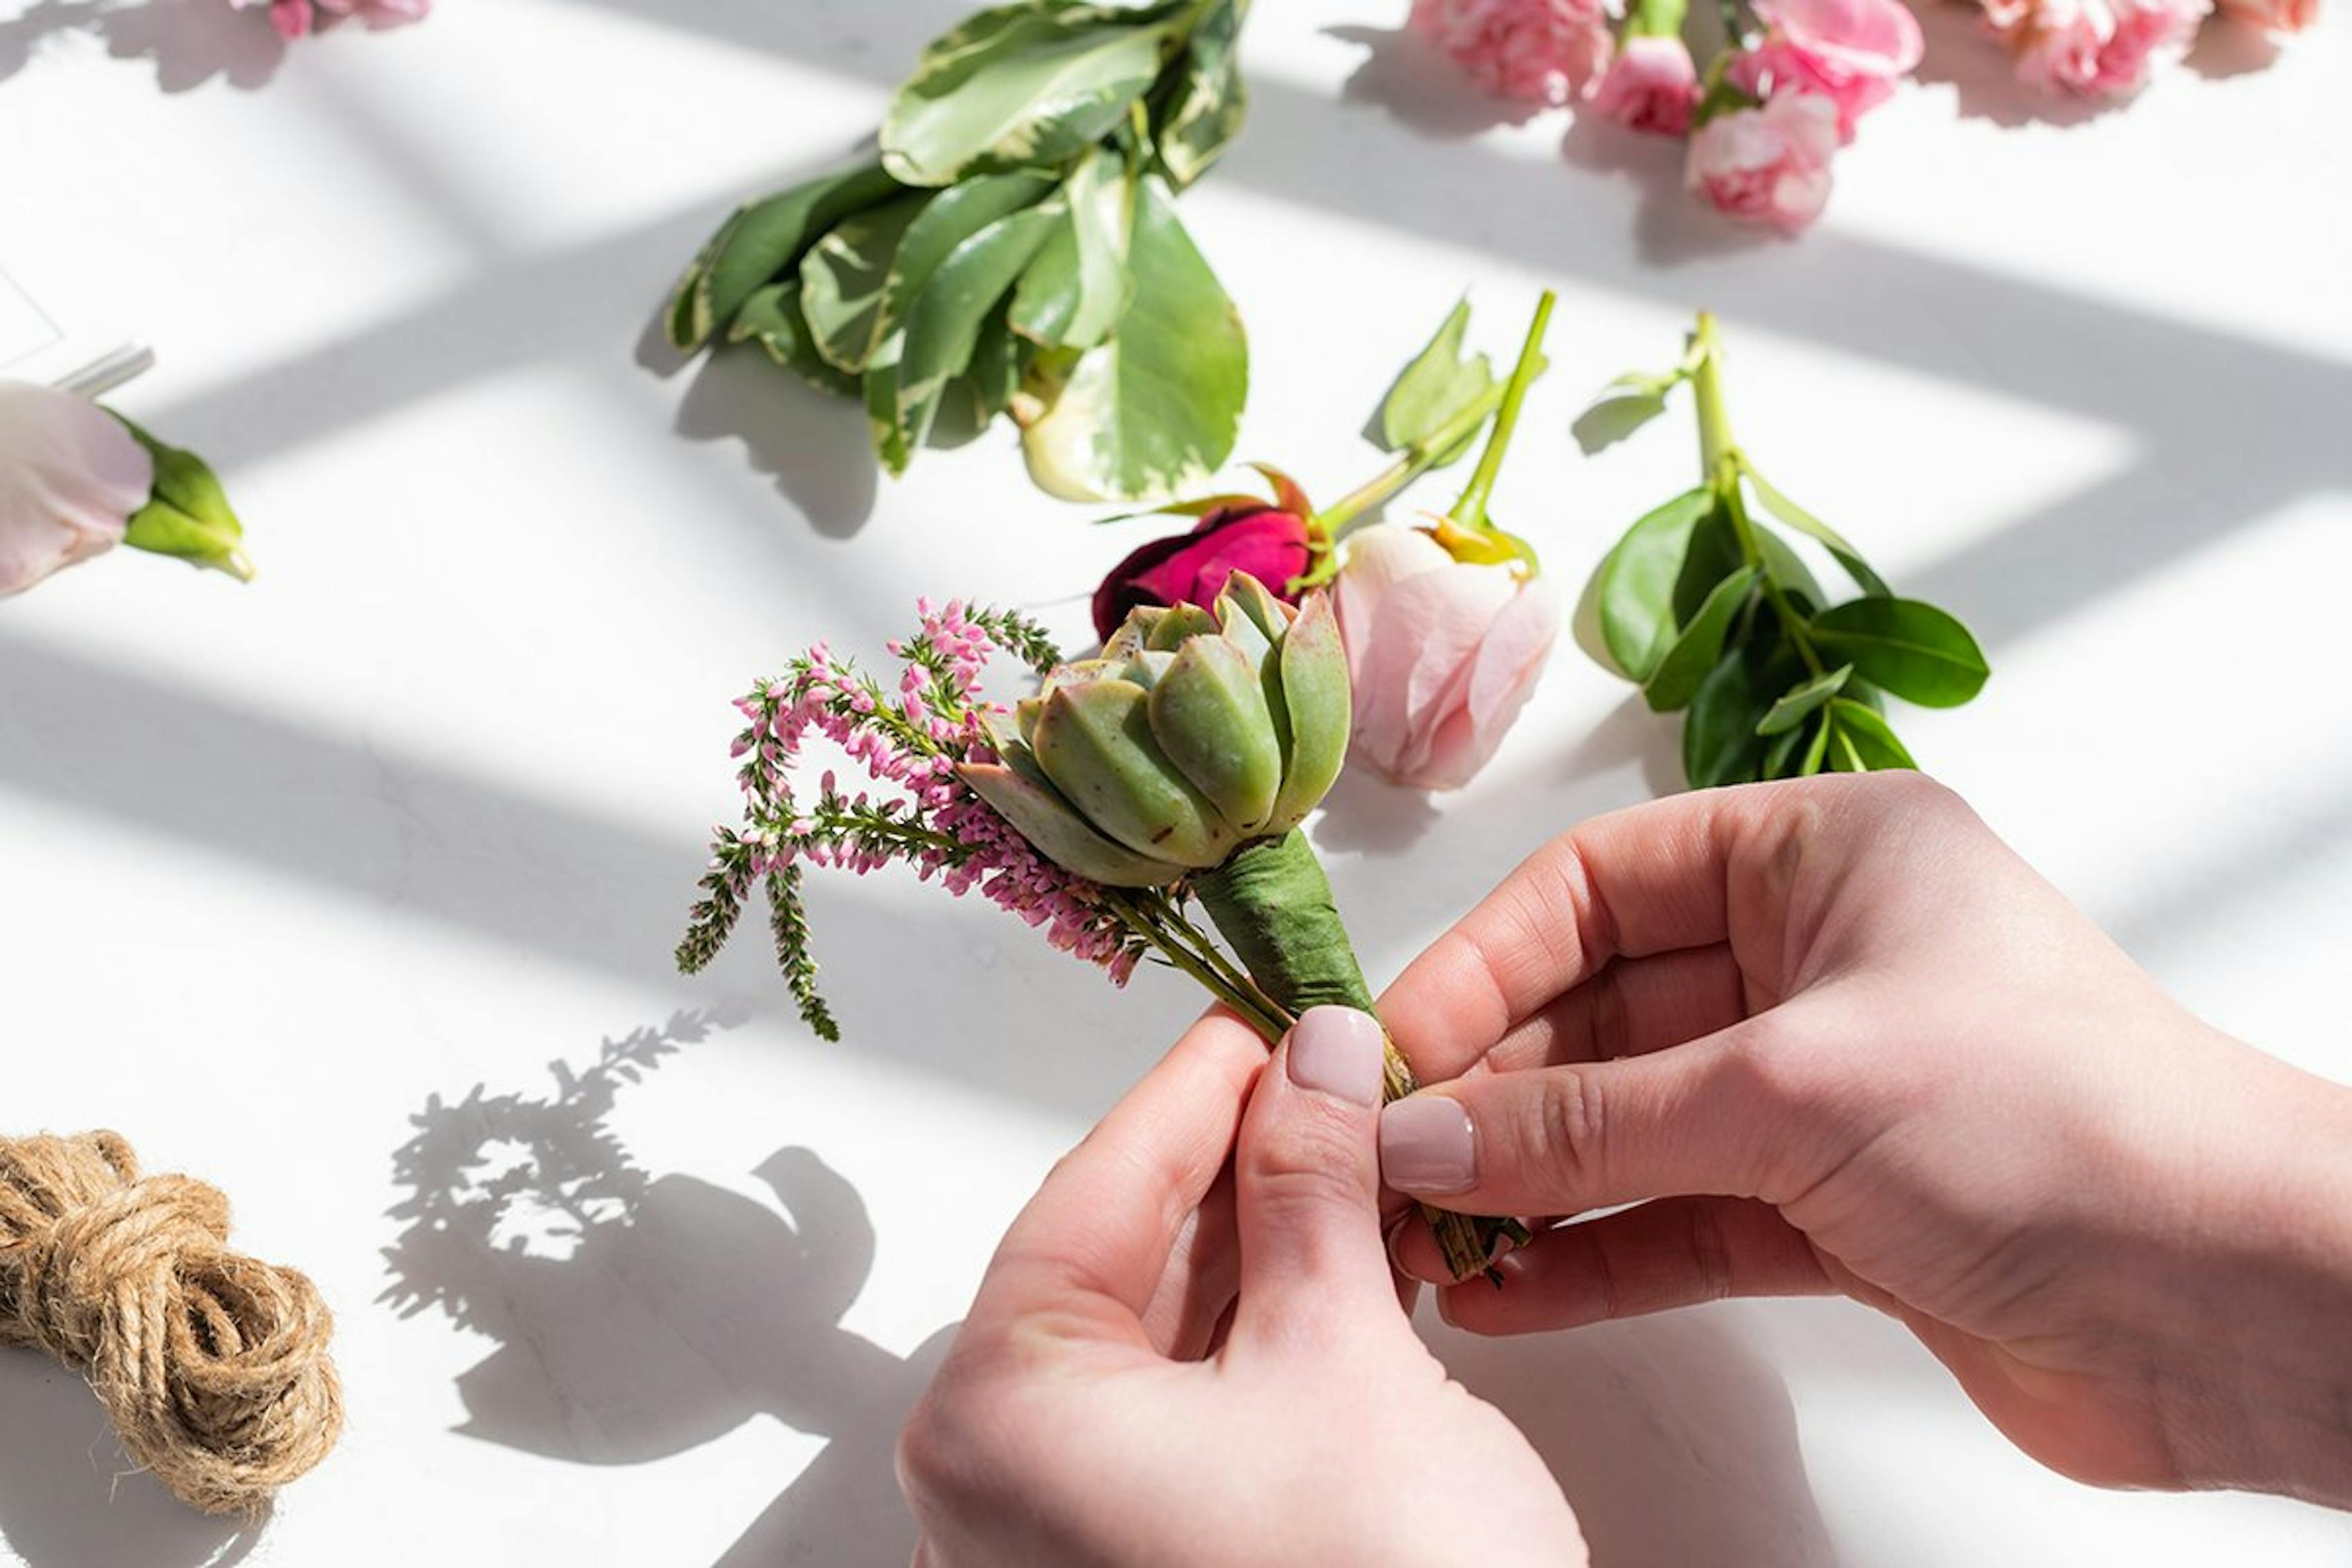
- Organize the bed behind the main plant or flower. Place a piece of floral wire that’s double the length of the stems vertically behind the arrangement. Add each additional stem individually and wrap with the floral tape until the arrangement is complete. Trim the tape.
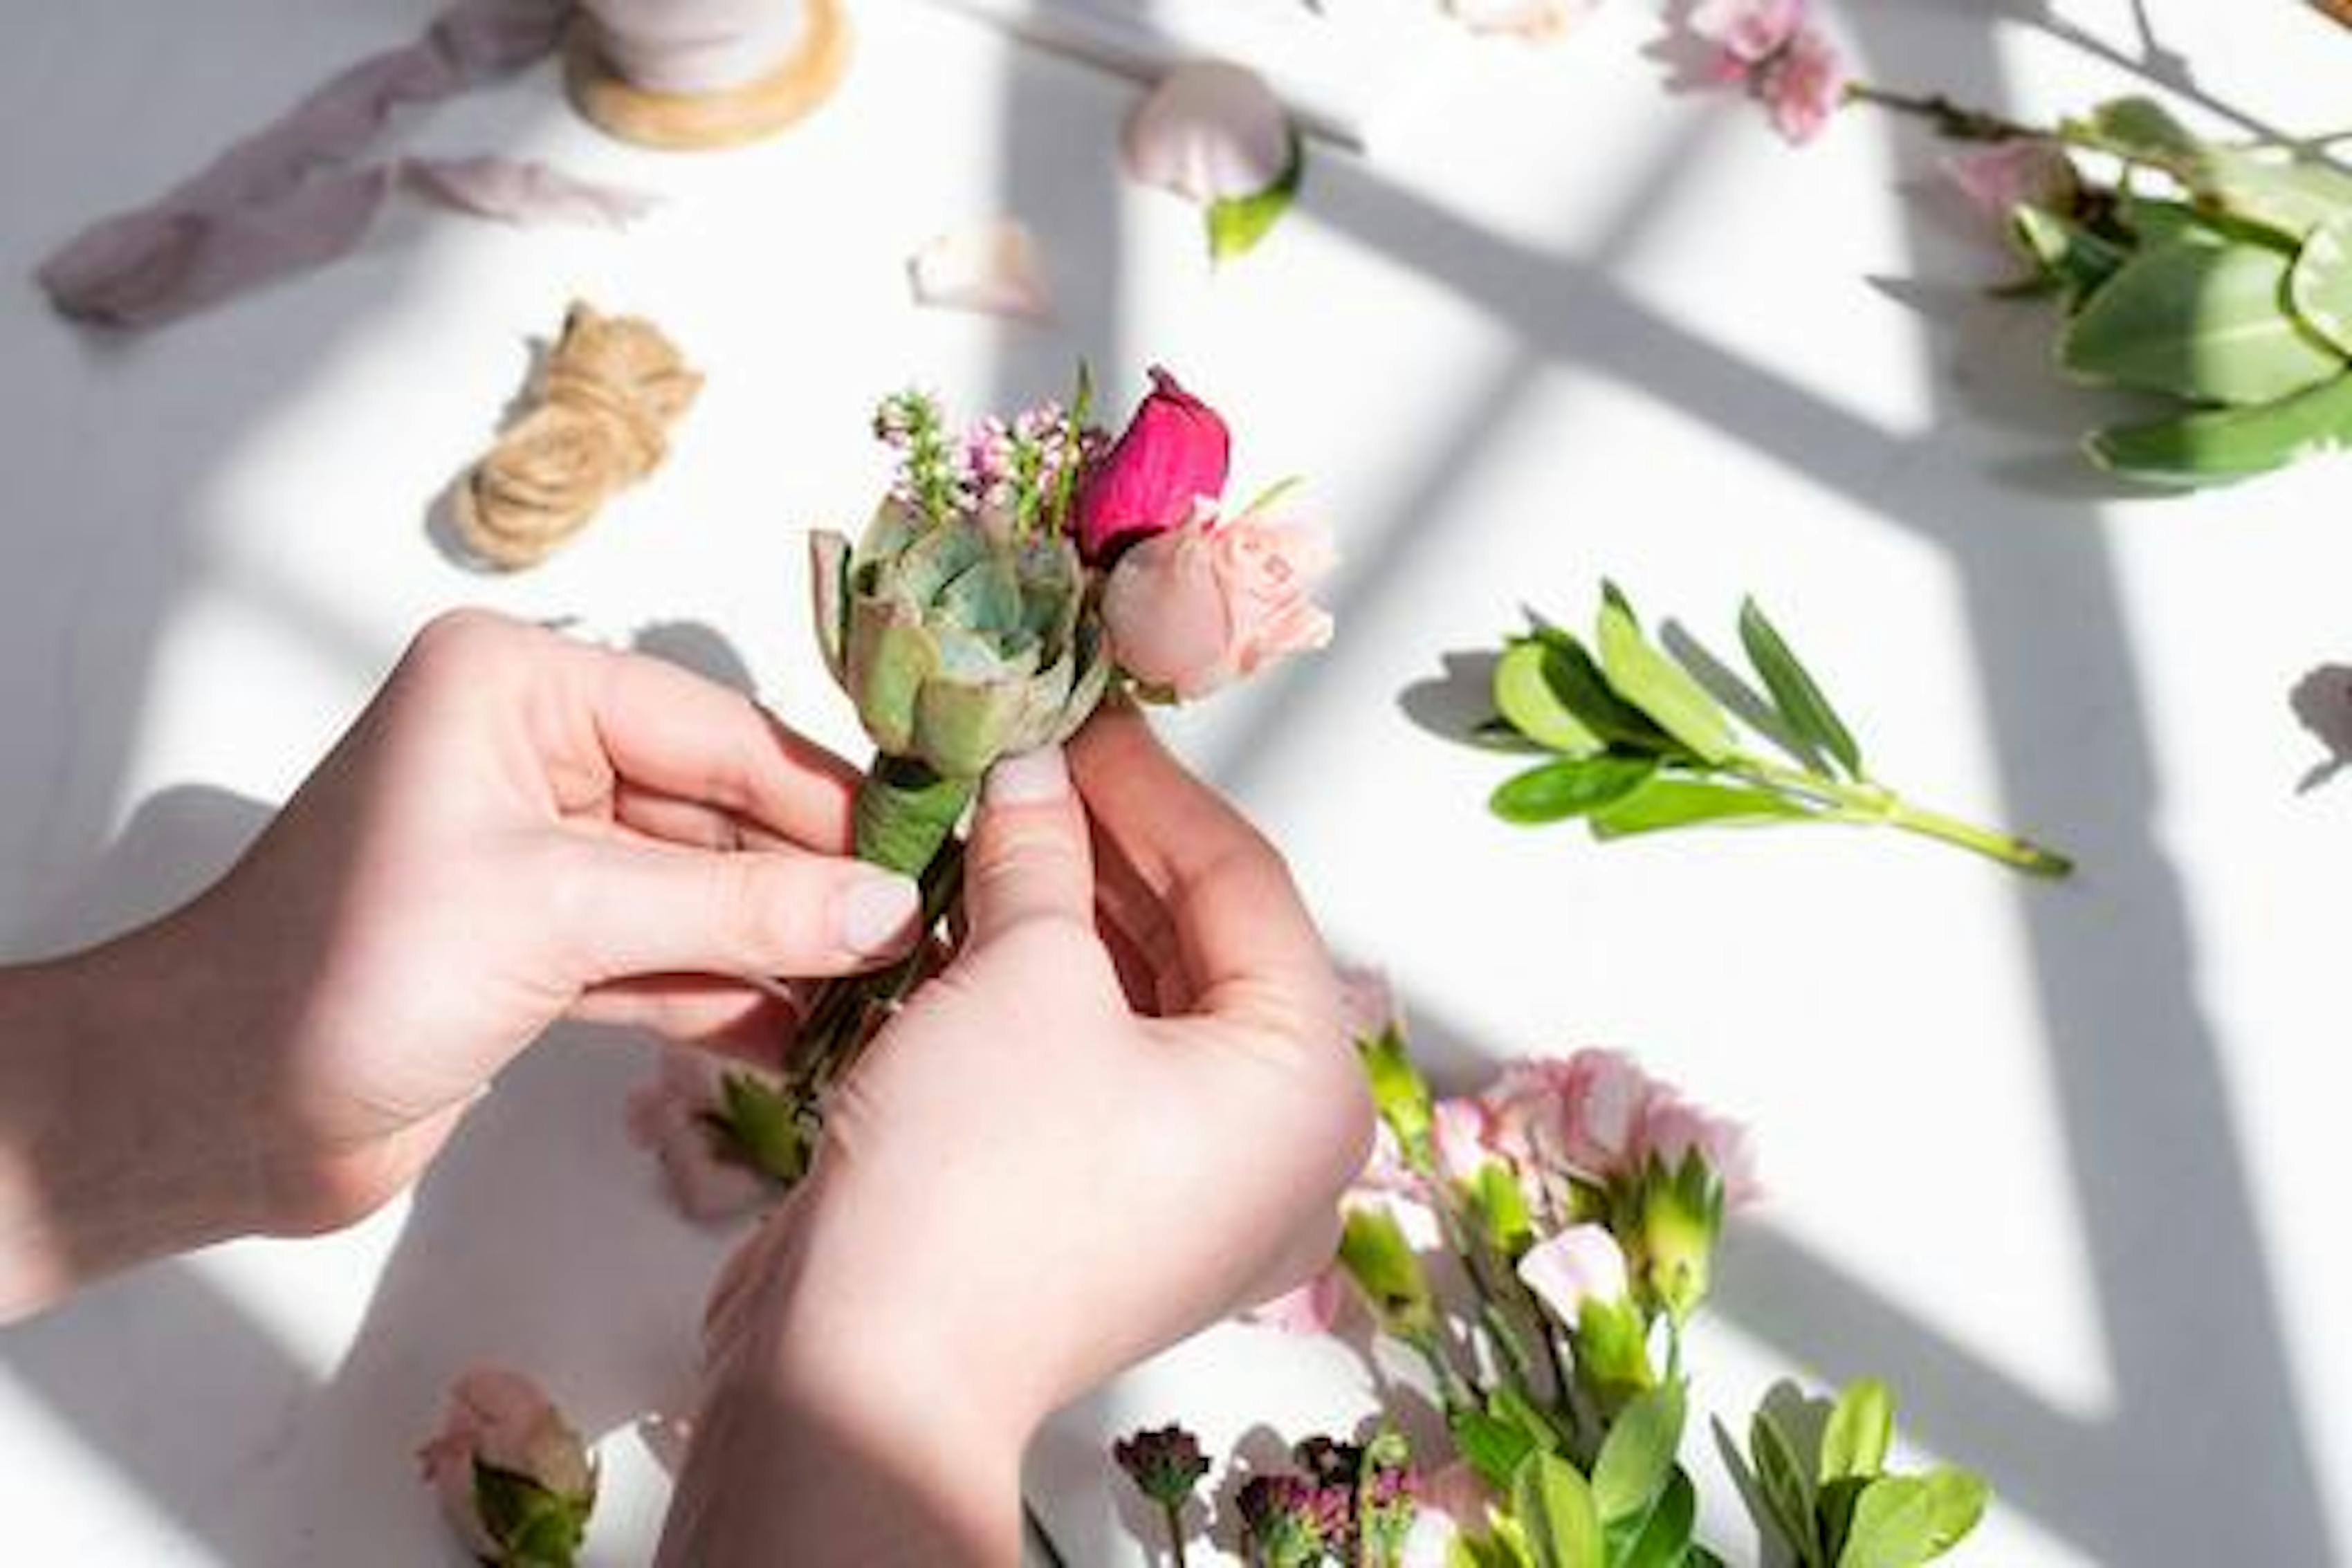
- For a finishing touch, wrap satin fabric around the taped stems, securing it on the backside with a pin. Or go minimalistic and only wrap the middle of the stems with floral tape and wrap twine or ribbon over it, allowing the bottom half of the stems to show.
After
You’ve practiced, you’ve mastered the wire- and stem-trimming, and your real boutonniere is now ready to go. To keep the flowers as fresh as possible, put the arrangement in a drinking glass and refrigerate. When it’s time to wear your masterpiece, make sure you know how to properly place it so everyone can admire your work. The boutonniere should be worn on the left lapel of your suit jacket. For more tips on proper boutonniere placement and pinning to your wedding suit, check out our quick guide.

Diana Ganz
Diana Ganz is the co-founder of SuitShop. Being a passionate advocate for the brand, Diana oversees marketing and branding efforts to bring maximum visibil...
