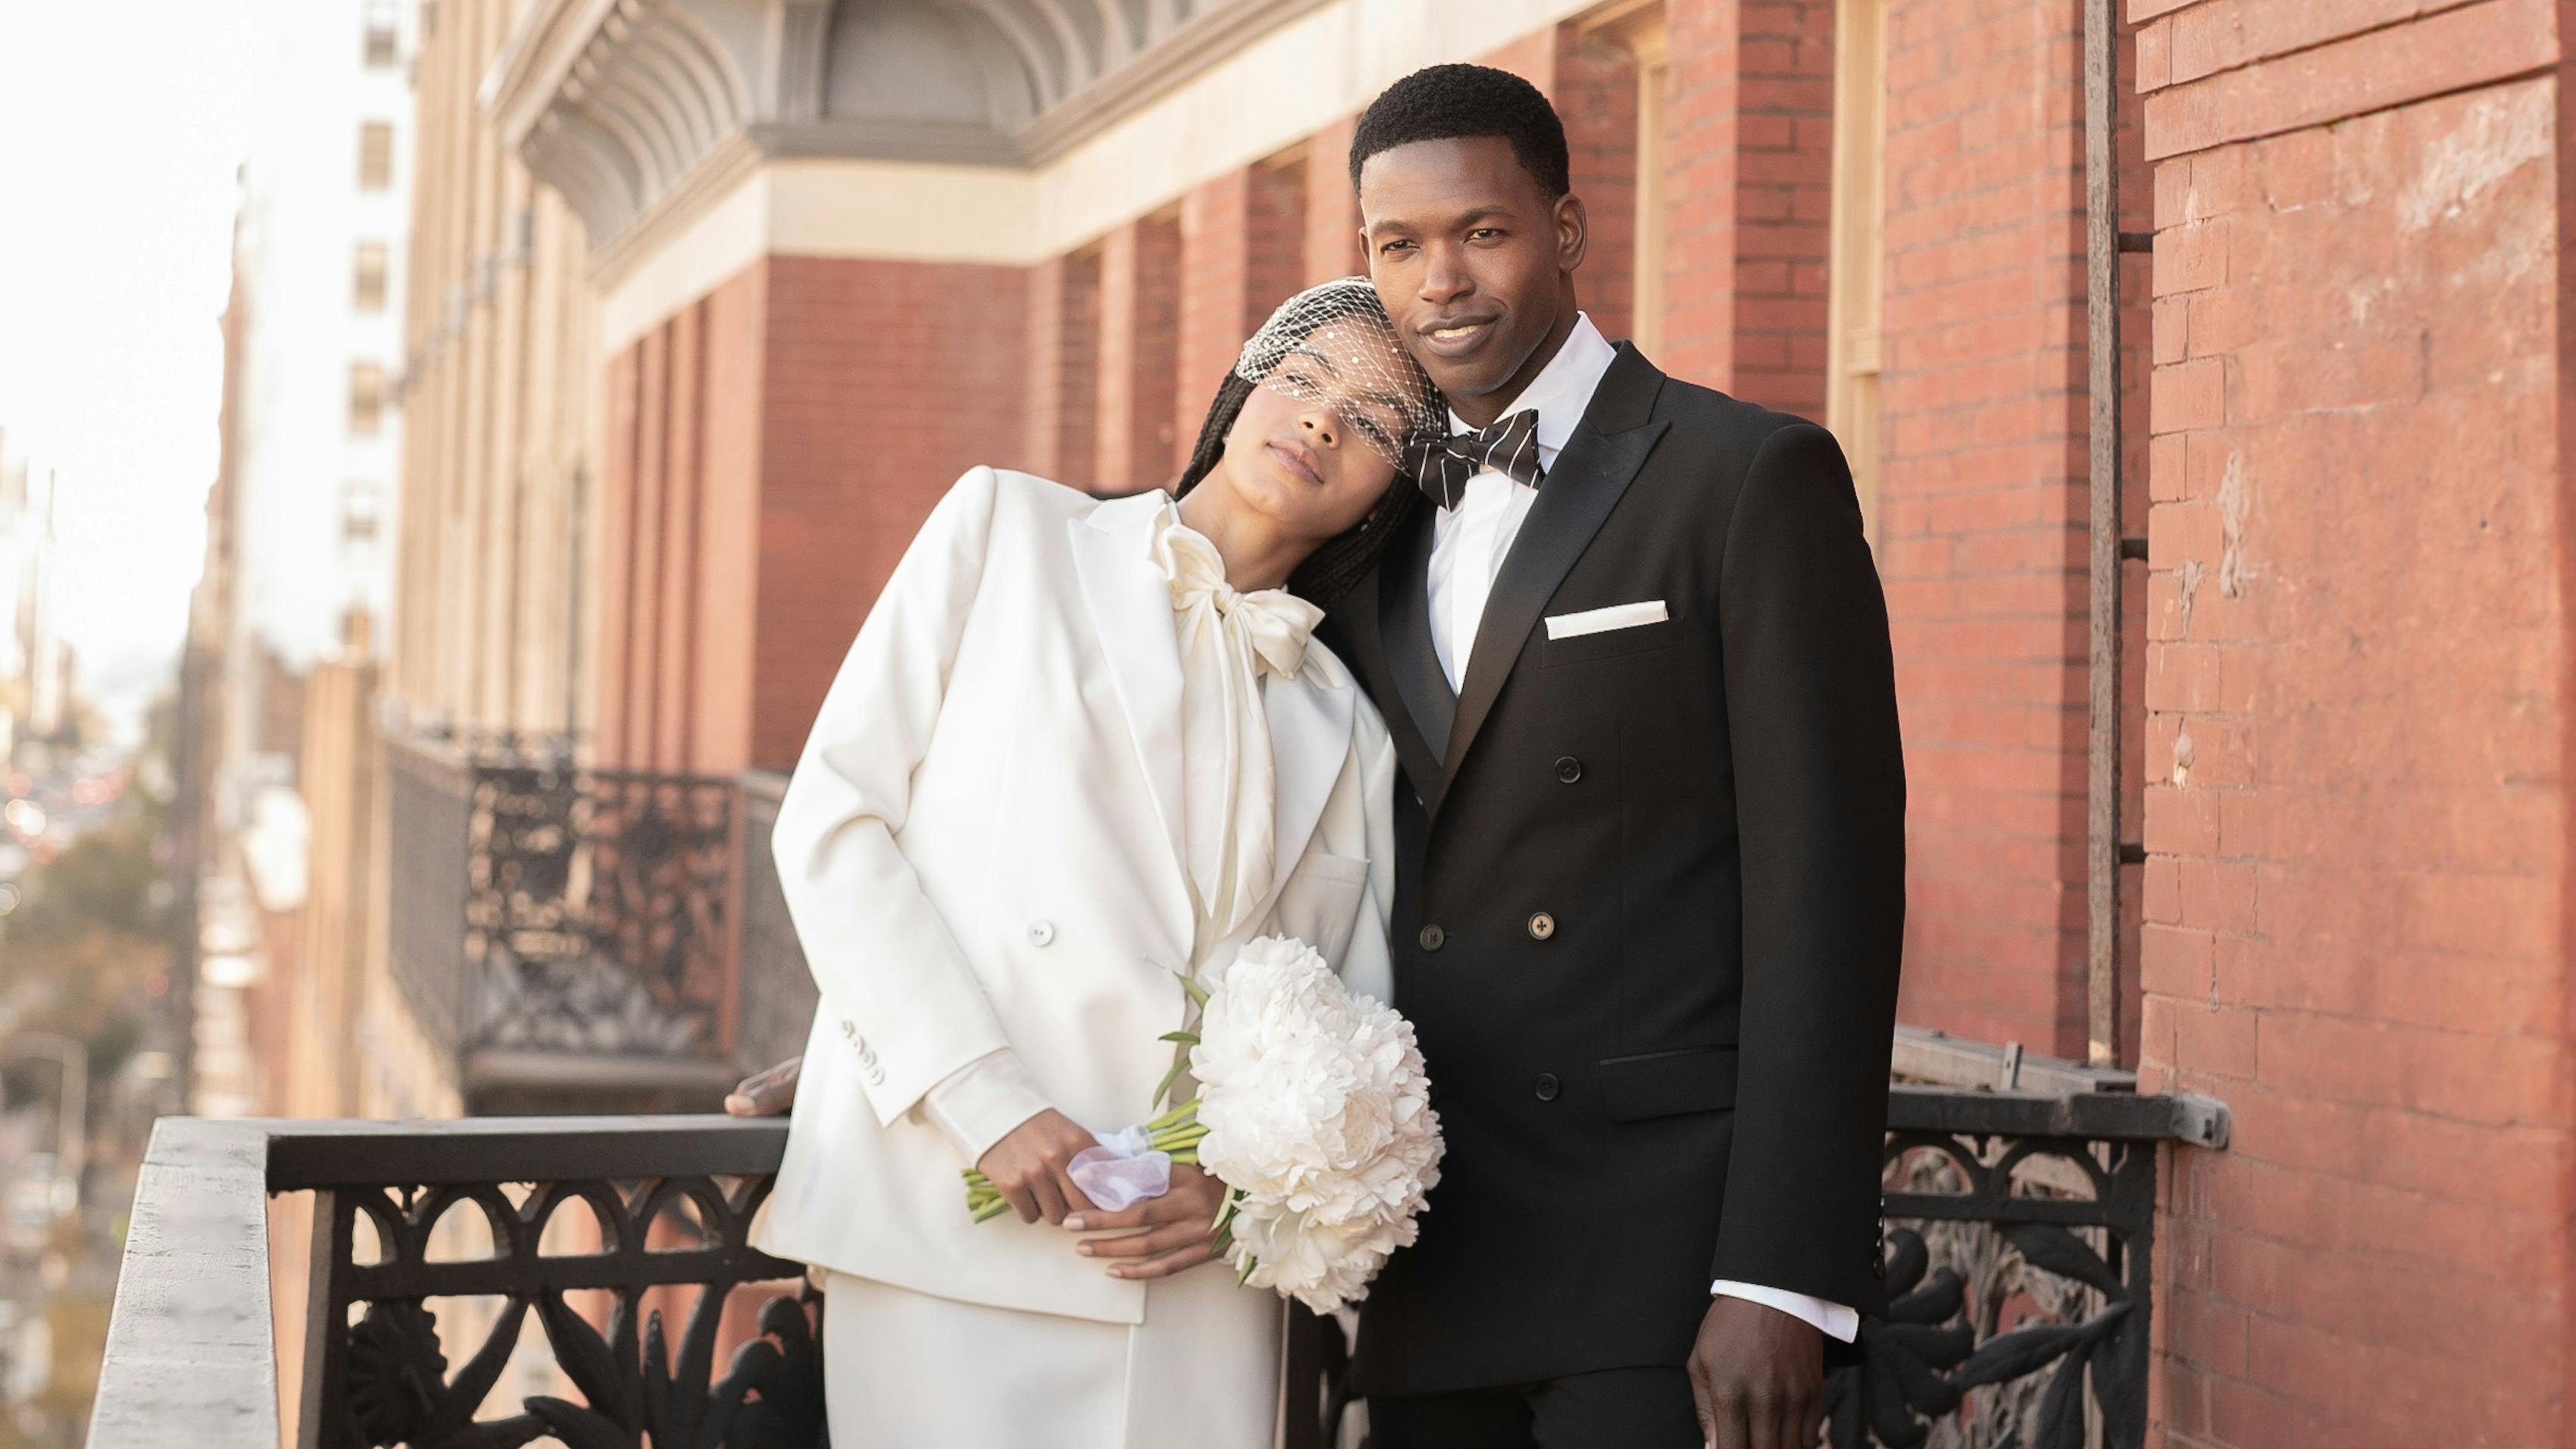
Necktie Knots: The Basics
When it comes to dressing to impress, the devil is in the details, and few details pack as much punch as the perfect tie knot. Tying a tie isn't just about keeping your collar in check—it's an art form that can showcase your personality, elevate your style, and set the tone for any occasion. This article will dive into the world of tie knots, from the timeless classics to the bold and modern, revealing which knots best complement different outfits and events. Whether you're gearing up for a job interview, a wedding, or just want to add a dash of sophistication to your everyday look, mastering these knots will ensure you always step out with confidence and flair.
Key Takeaways
- Different tie knots suit various occasions and collar styles to enhance your overall presentation.
- Tying a tie is a skill that improves with practice, so take the time to master a few different knots.
- Accessories like tie bars can elevate your appearance, so know how to place them properly to get a truly refined look.
- Confidence is key when dressing up and wearing a tie; choose knots and accessories that reflect your personal style and make you feel your best.
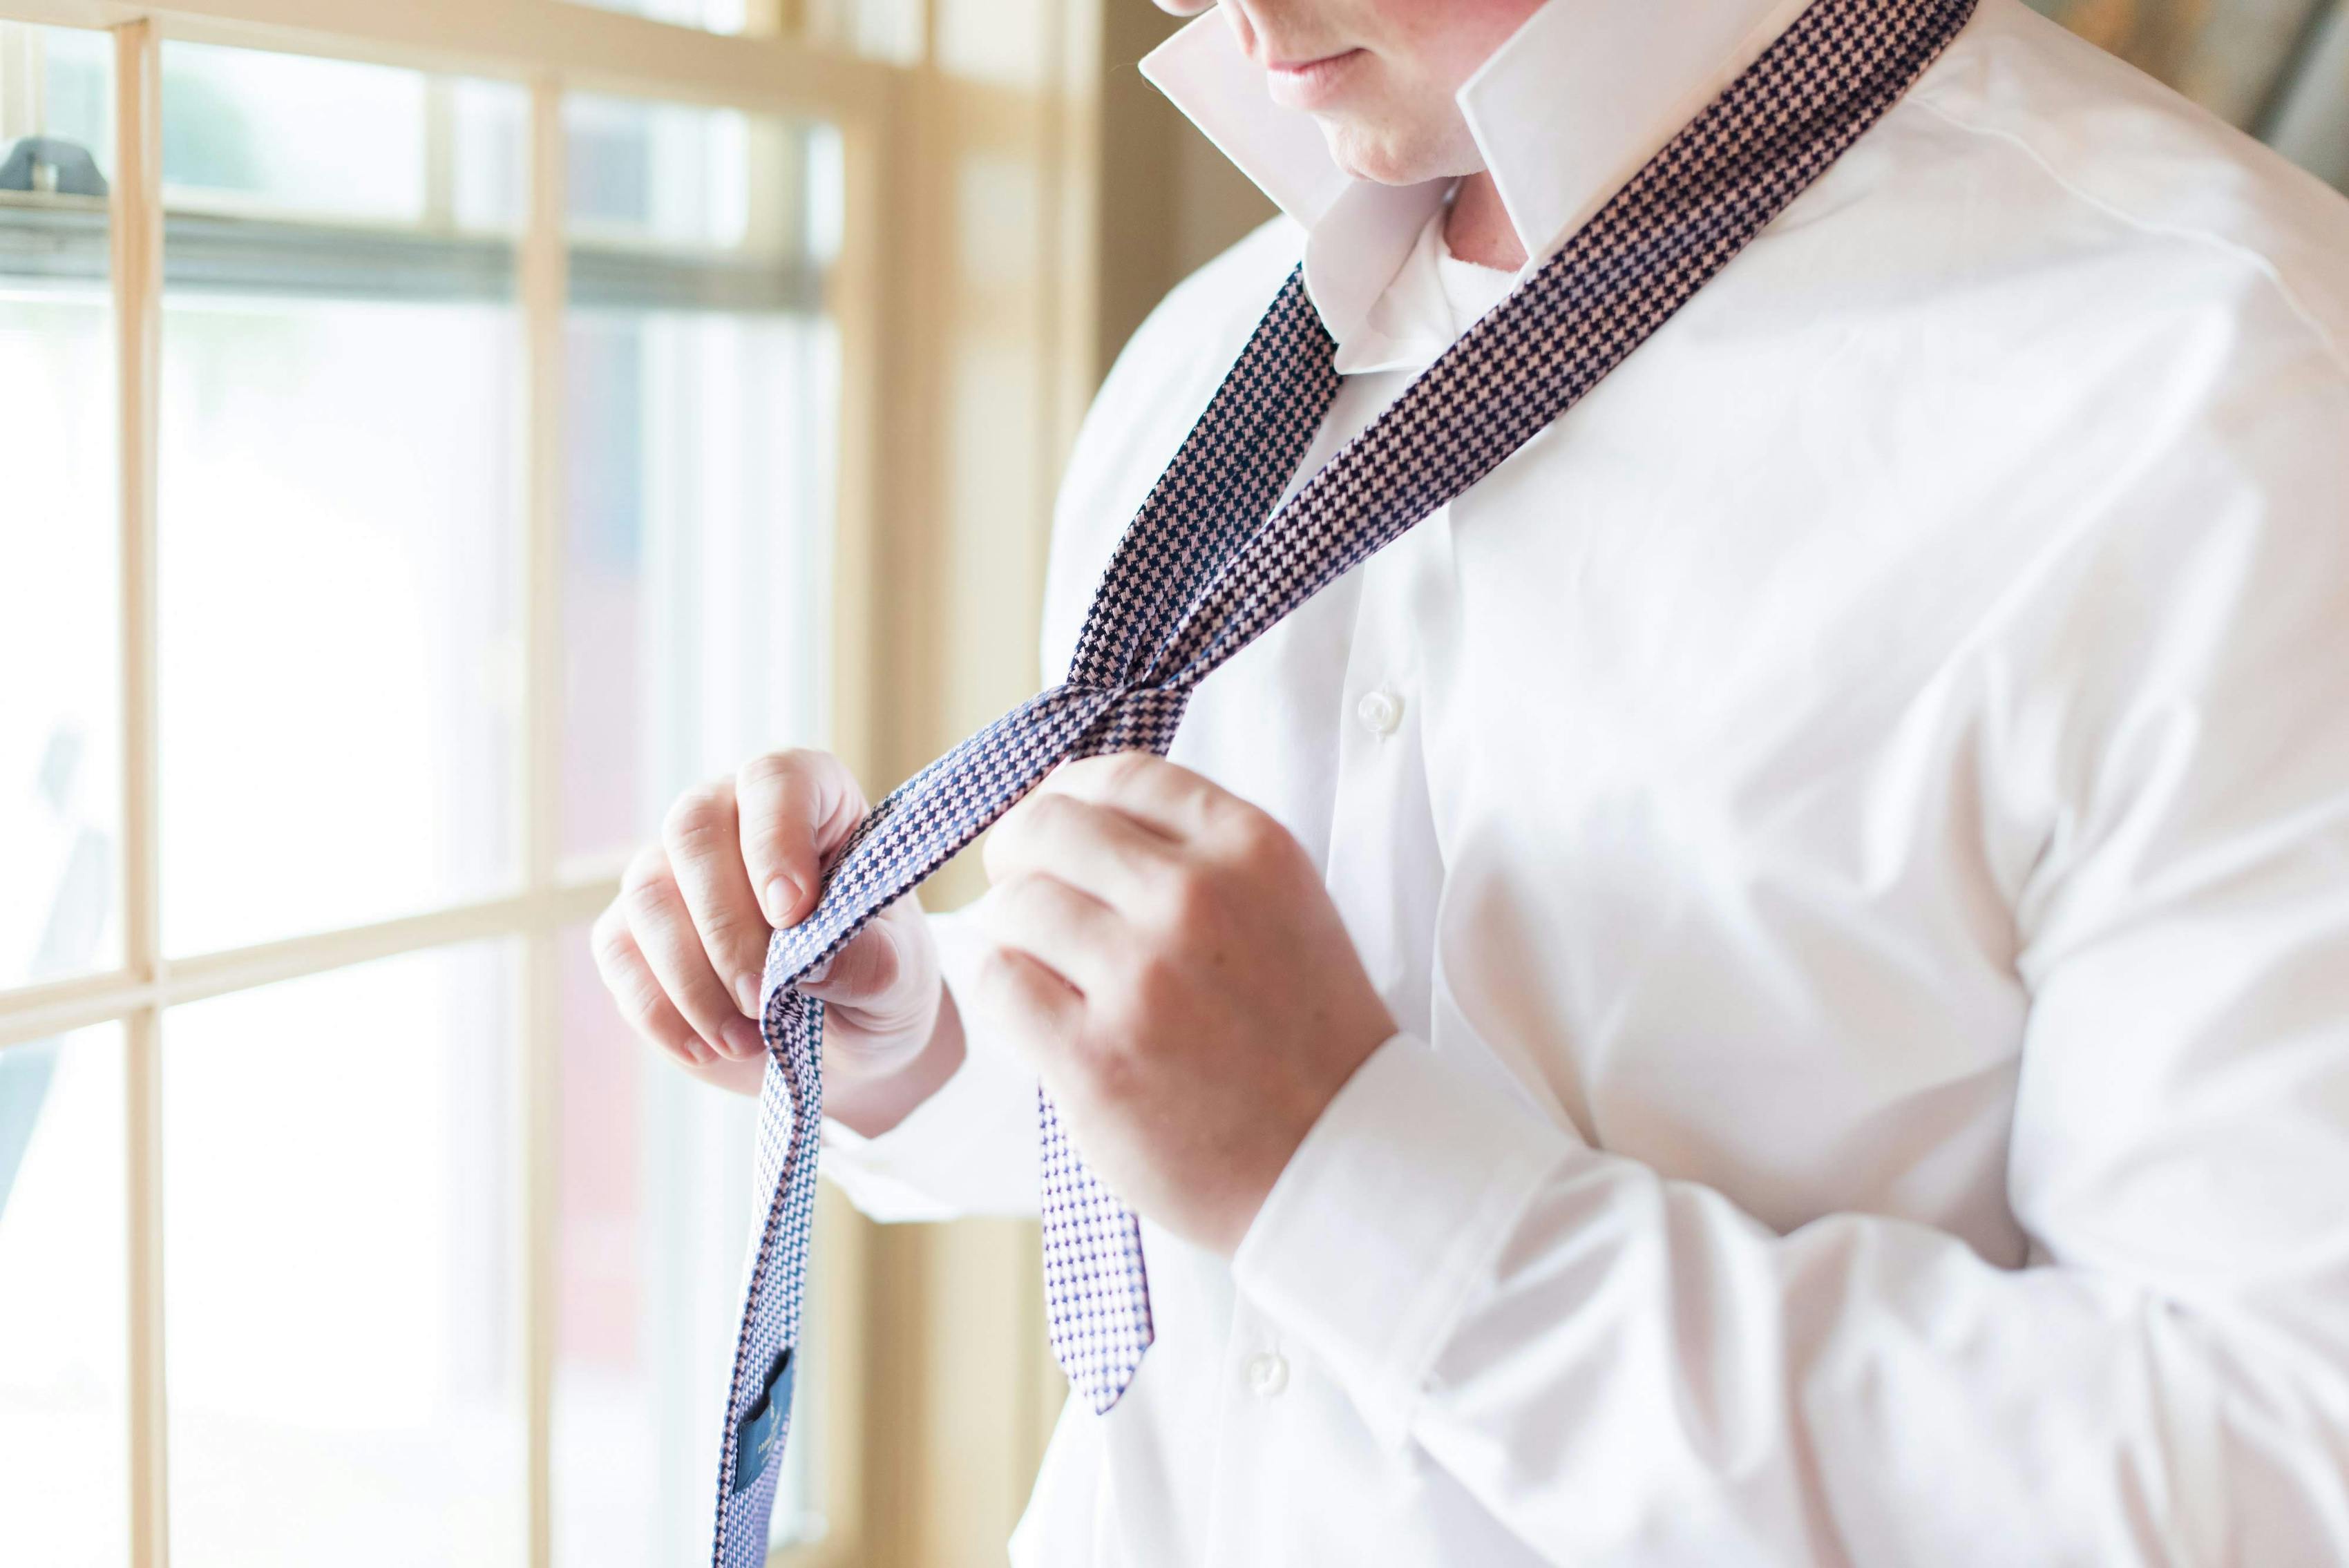
1. Half Windsor Knot
The Half Windsor Knot is a symmetrical, triangular knot that's slightly smaller than the Full Windsor. Its classic, polished look makes it versatile and suitable for both professional and semi-formal occasions. This knot pairs well with a wide range of collar styles and lends itself to a balanced aesthetic.
Steps for tying a Half Windsor Knot:
- Drape the tie around your neck with the wide end on the right, extending about 12 inches below the narrow end.
- Cross the wide end over the narrow end to the left.
- Bring the wide end under the narrow end and up through the loop between your collar and the tie.
- Pass the wide end down to the left.
- Bring the wide end around the front to the right.
- Pull the wide end up through the loop again.
- Pass it down through the knot in front.
- Tighten the knot by sliding it up to your collar and adjust as needed.
2. Full Windsor Knot
The Full Windsor Knot is a large, symmetrical, and triangular knot that offers a robust and formal look. Because of its size and presence, it’s ideal for formal events, business meetings, and wide-collar shirts, making a strong and confident statement. If you’re attending a wedding with an elevated dress code, a Full Windsor Knot makes a great choice for men’s wedding guest attire.
Steps for tying a Full Windsor Knot:
- Drape the tie around your neck with the wide end on the right, extending about 12 inches below the narrow end.
- Cross the wide end over the narrow end to the left.
- Bring the wide end up through the loop between your collar and the tie.
- Pass the wide end down to the left.
- Bring the wide end behind the narrow end to the right.
- Pull the wide end up and through the loop again.
- Pass it down to the right.
- Bring the wide end across the front from right to left.
- Pull the wide end up through the loop a third time.
- Pass it down through the knot in front.
- Tighten the knot by sliding it up to your collar and adjust for comfort and look.
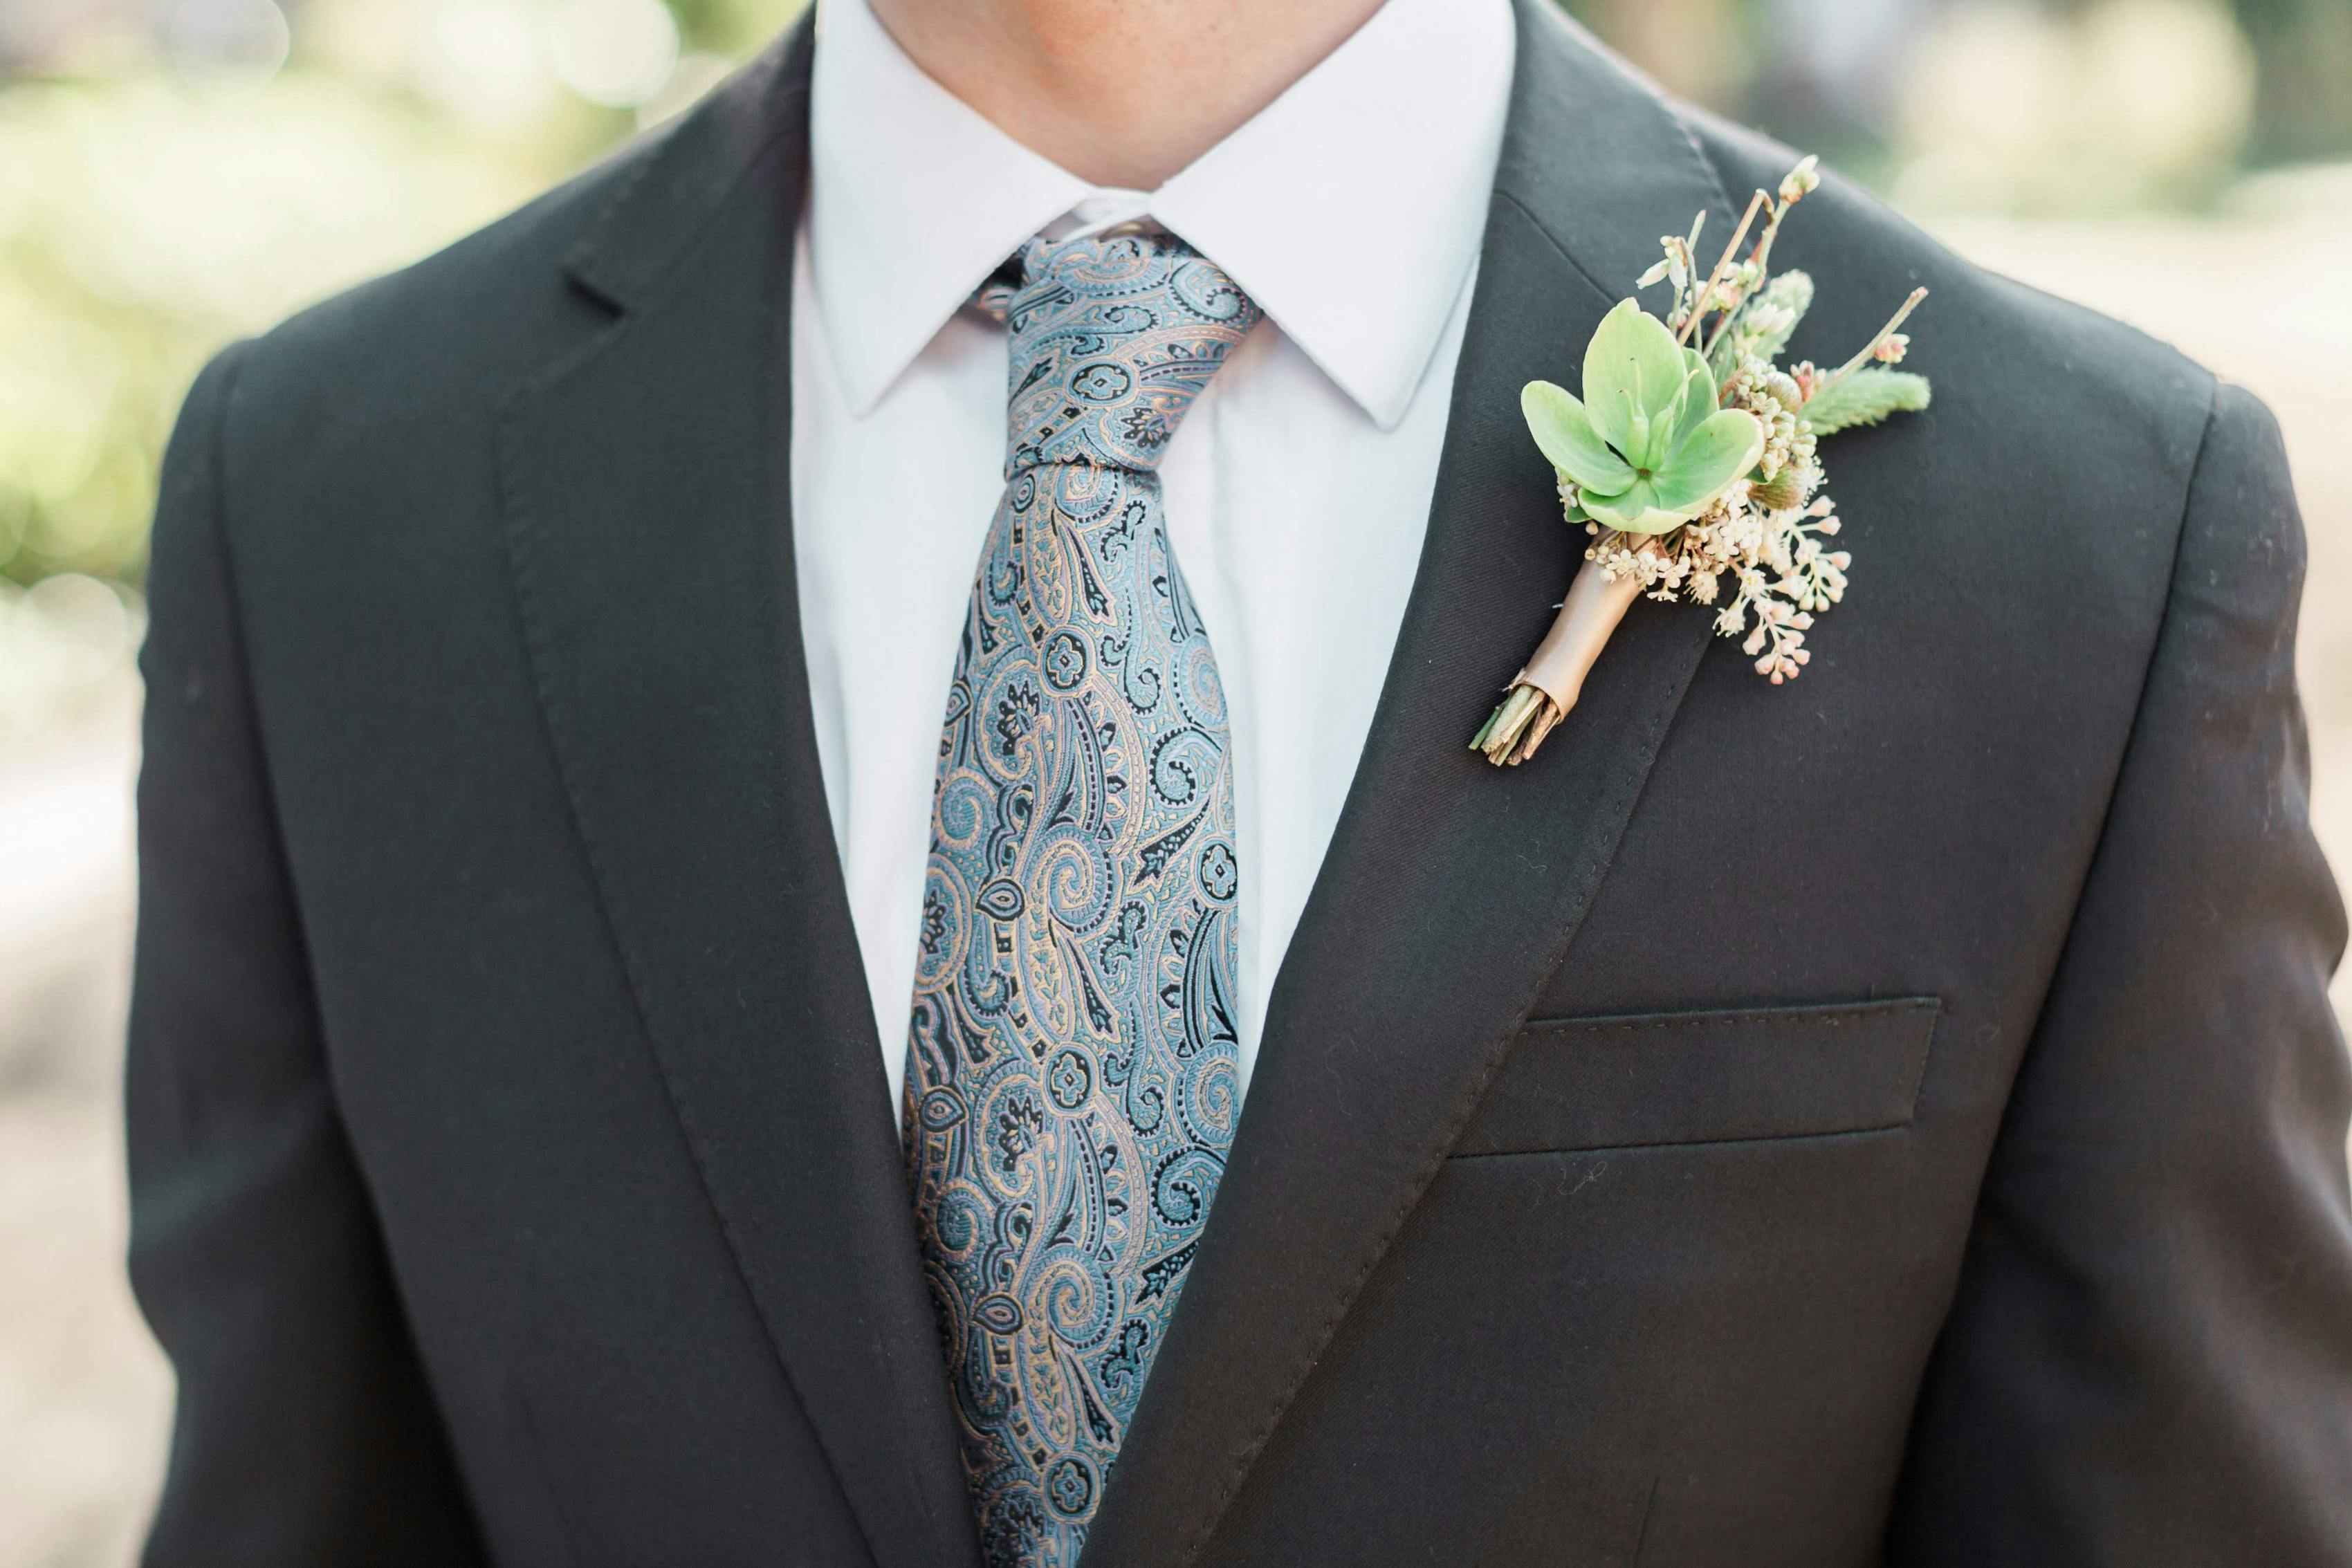
3. Four-in-Hand Knot
The Four-in-Hand Knot is narrow and slightly asymmetrical, giving it a more relaxed and understated look. It's suitable for everyday wear and casual settings, and it’s perfect for narrow collars and skinny ties, providing a sleek and easygoing style. The knot’s simplicity and minimal bulk make it an excellent choice for knit ties, as it doesn’t add unnecessary volume.
Steps to tie a Four-in-Hand Knot:
- Drape the tie around your neck with the wide end on the right, extending about 12 inches below the narrow end.
- Cross the wide end over the narrow end to the left.
- Bring the wide end behind the narrow end to the right.
- Cross the wide end over the narrow end again to the left.
- Pull the wide end up through the loop between your collar and the tie.
- Pass it down through the knot in front.
- Tighten the knot by sliding it up to your collar and adjust to your liking.
4. Eldredge Knot
The Eldredge Knot is intricate and eye-catching, featuring multiple overlapping layers that create a unique braid-like effect. Best suited for special occasions and fashion-forward outfits, this knot is a statement piece that draws attention and showcases creativity. If you’re planning on wearing a patterned tie, an Eldredge knot may be the perfect fit.
Steps for tying the Eldredge Knot:
- Drape the tie around your neck with the wide end on the left, extending just below your chest.
- Take the narrow end and cross it over the wide end to the left.
- Bring the narrow end up through the loop between your collar and the tie.
- Pass it down to the left.
- Bring the narrow end behind the wide end to the right.
- Pull it up through the loop again.
- Pass it down to the right.
- Cross the narrow end over the front from right to left.
- Bring it up through the loop again.
- Pass it down to the left.
- Tuck the narrow end behind the knot and pull it through to the right.
- Adjust and tighten the knot to your preference.
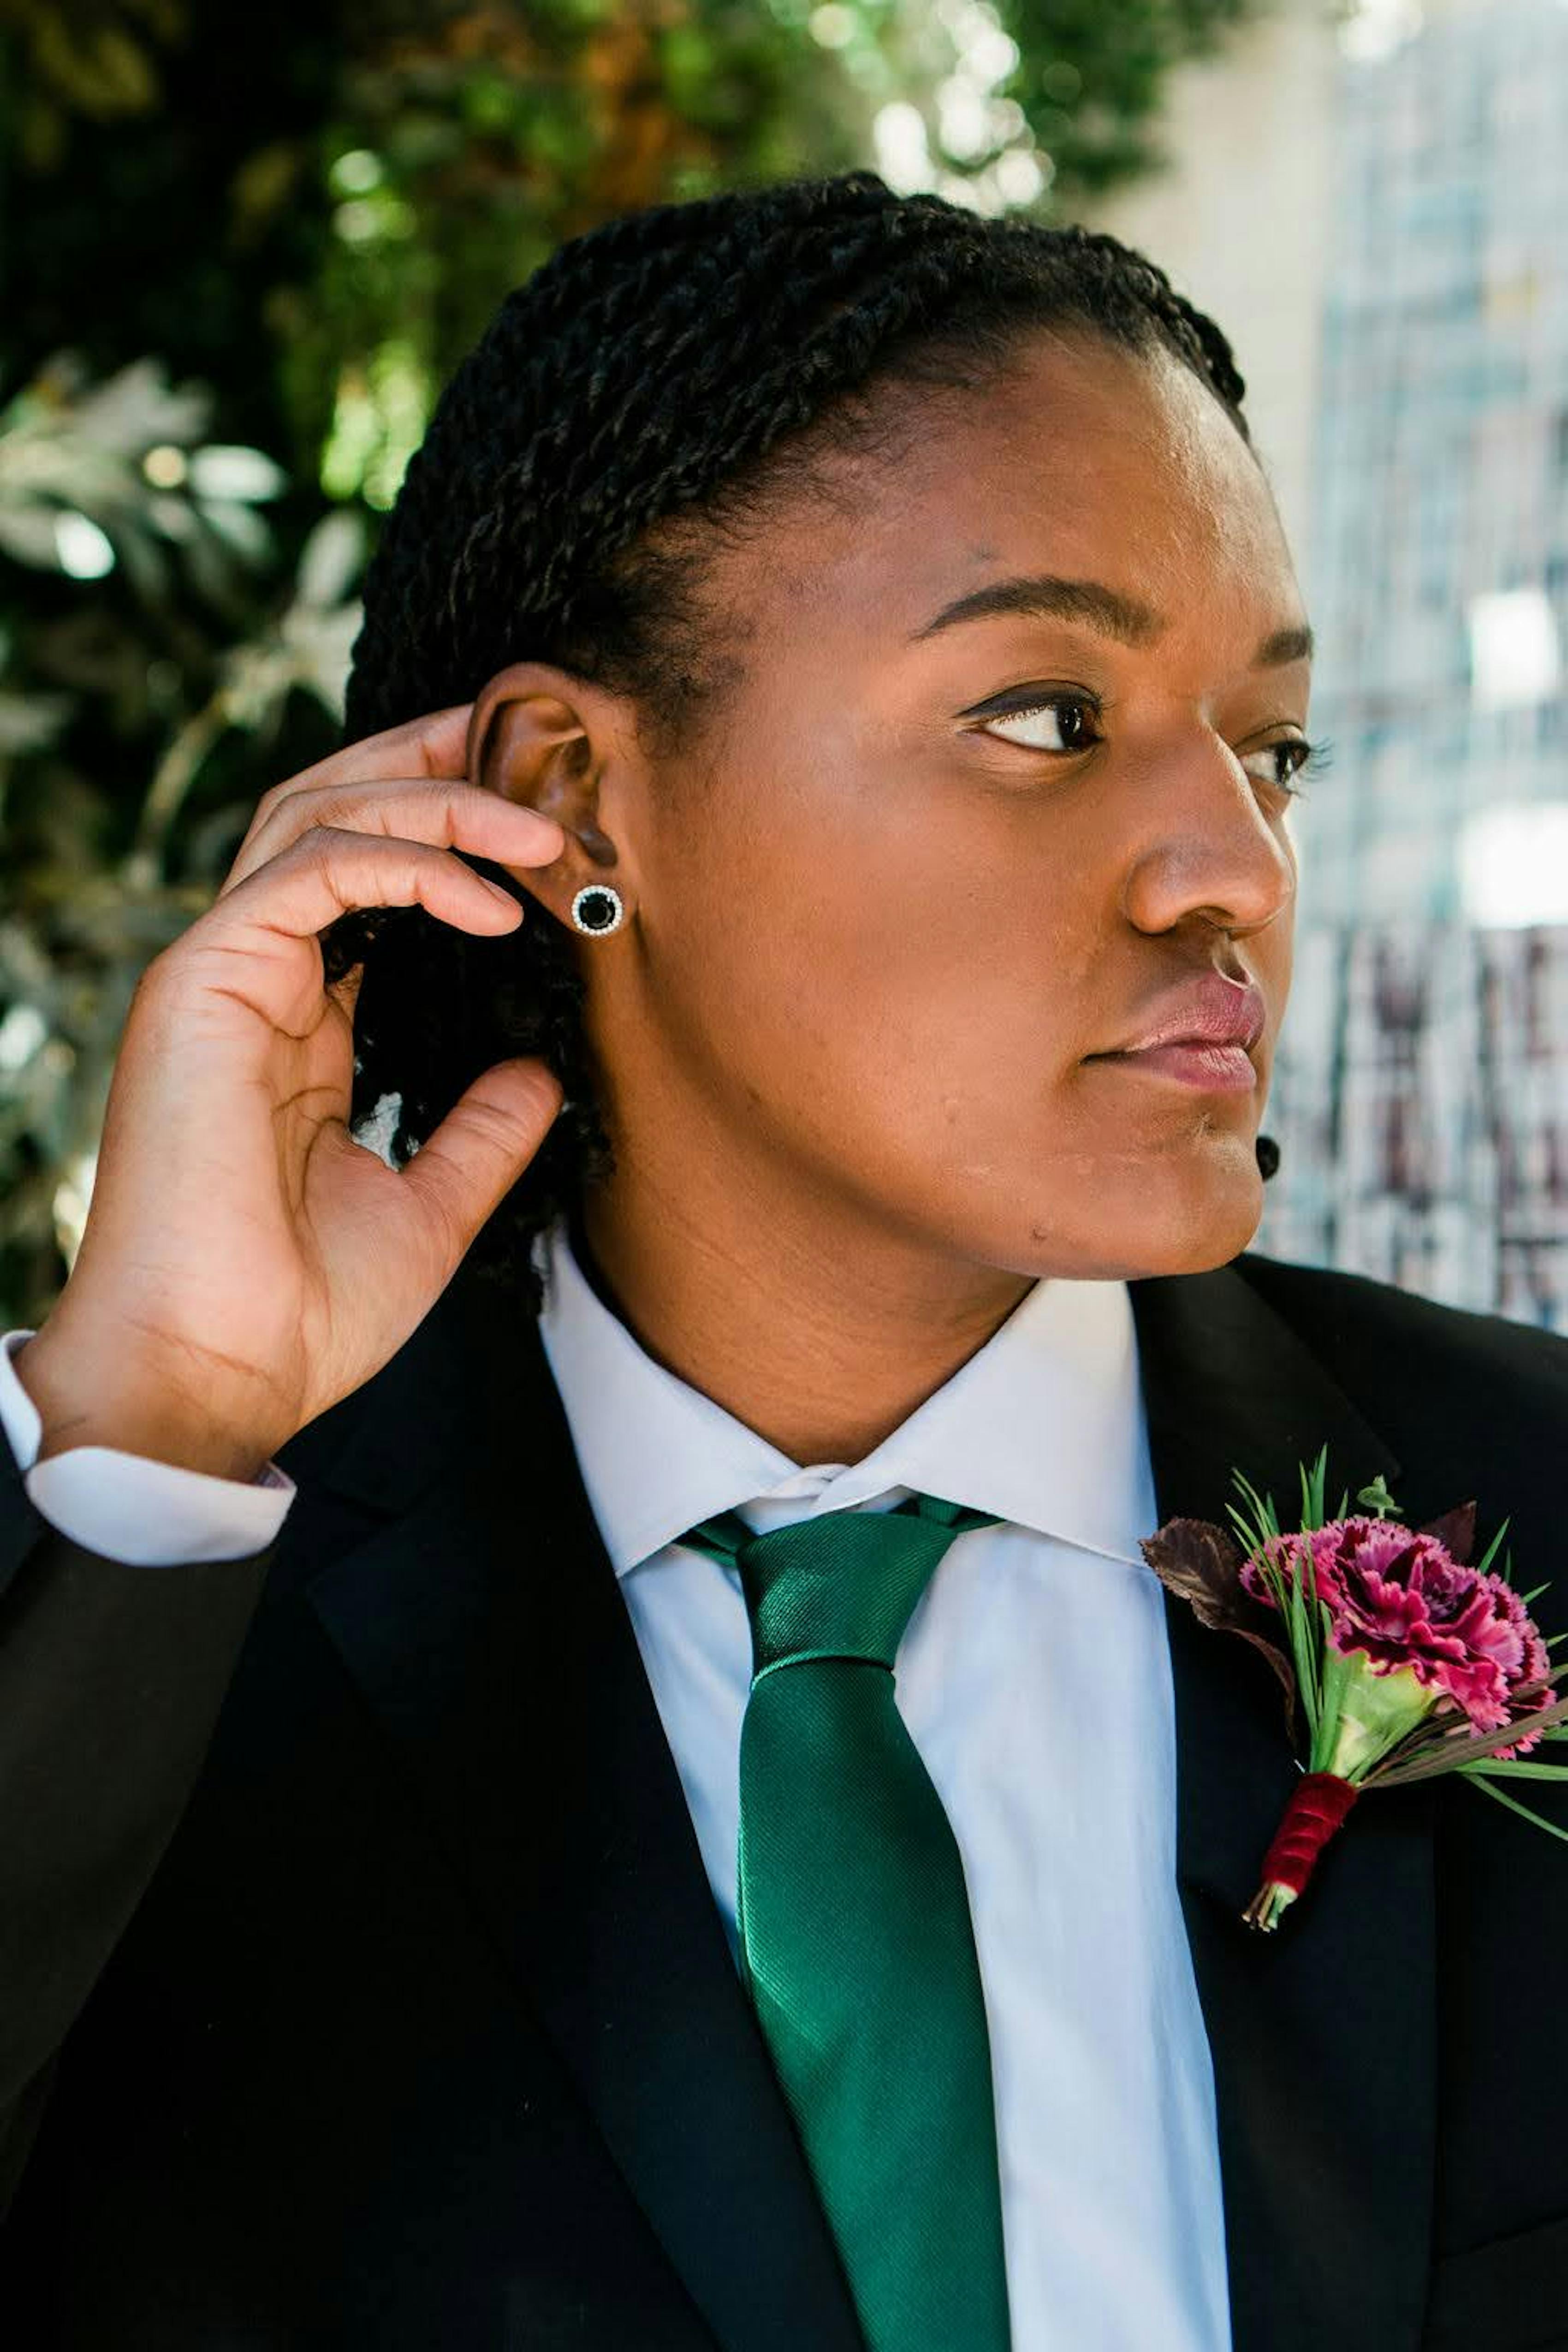
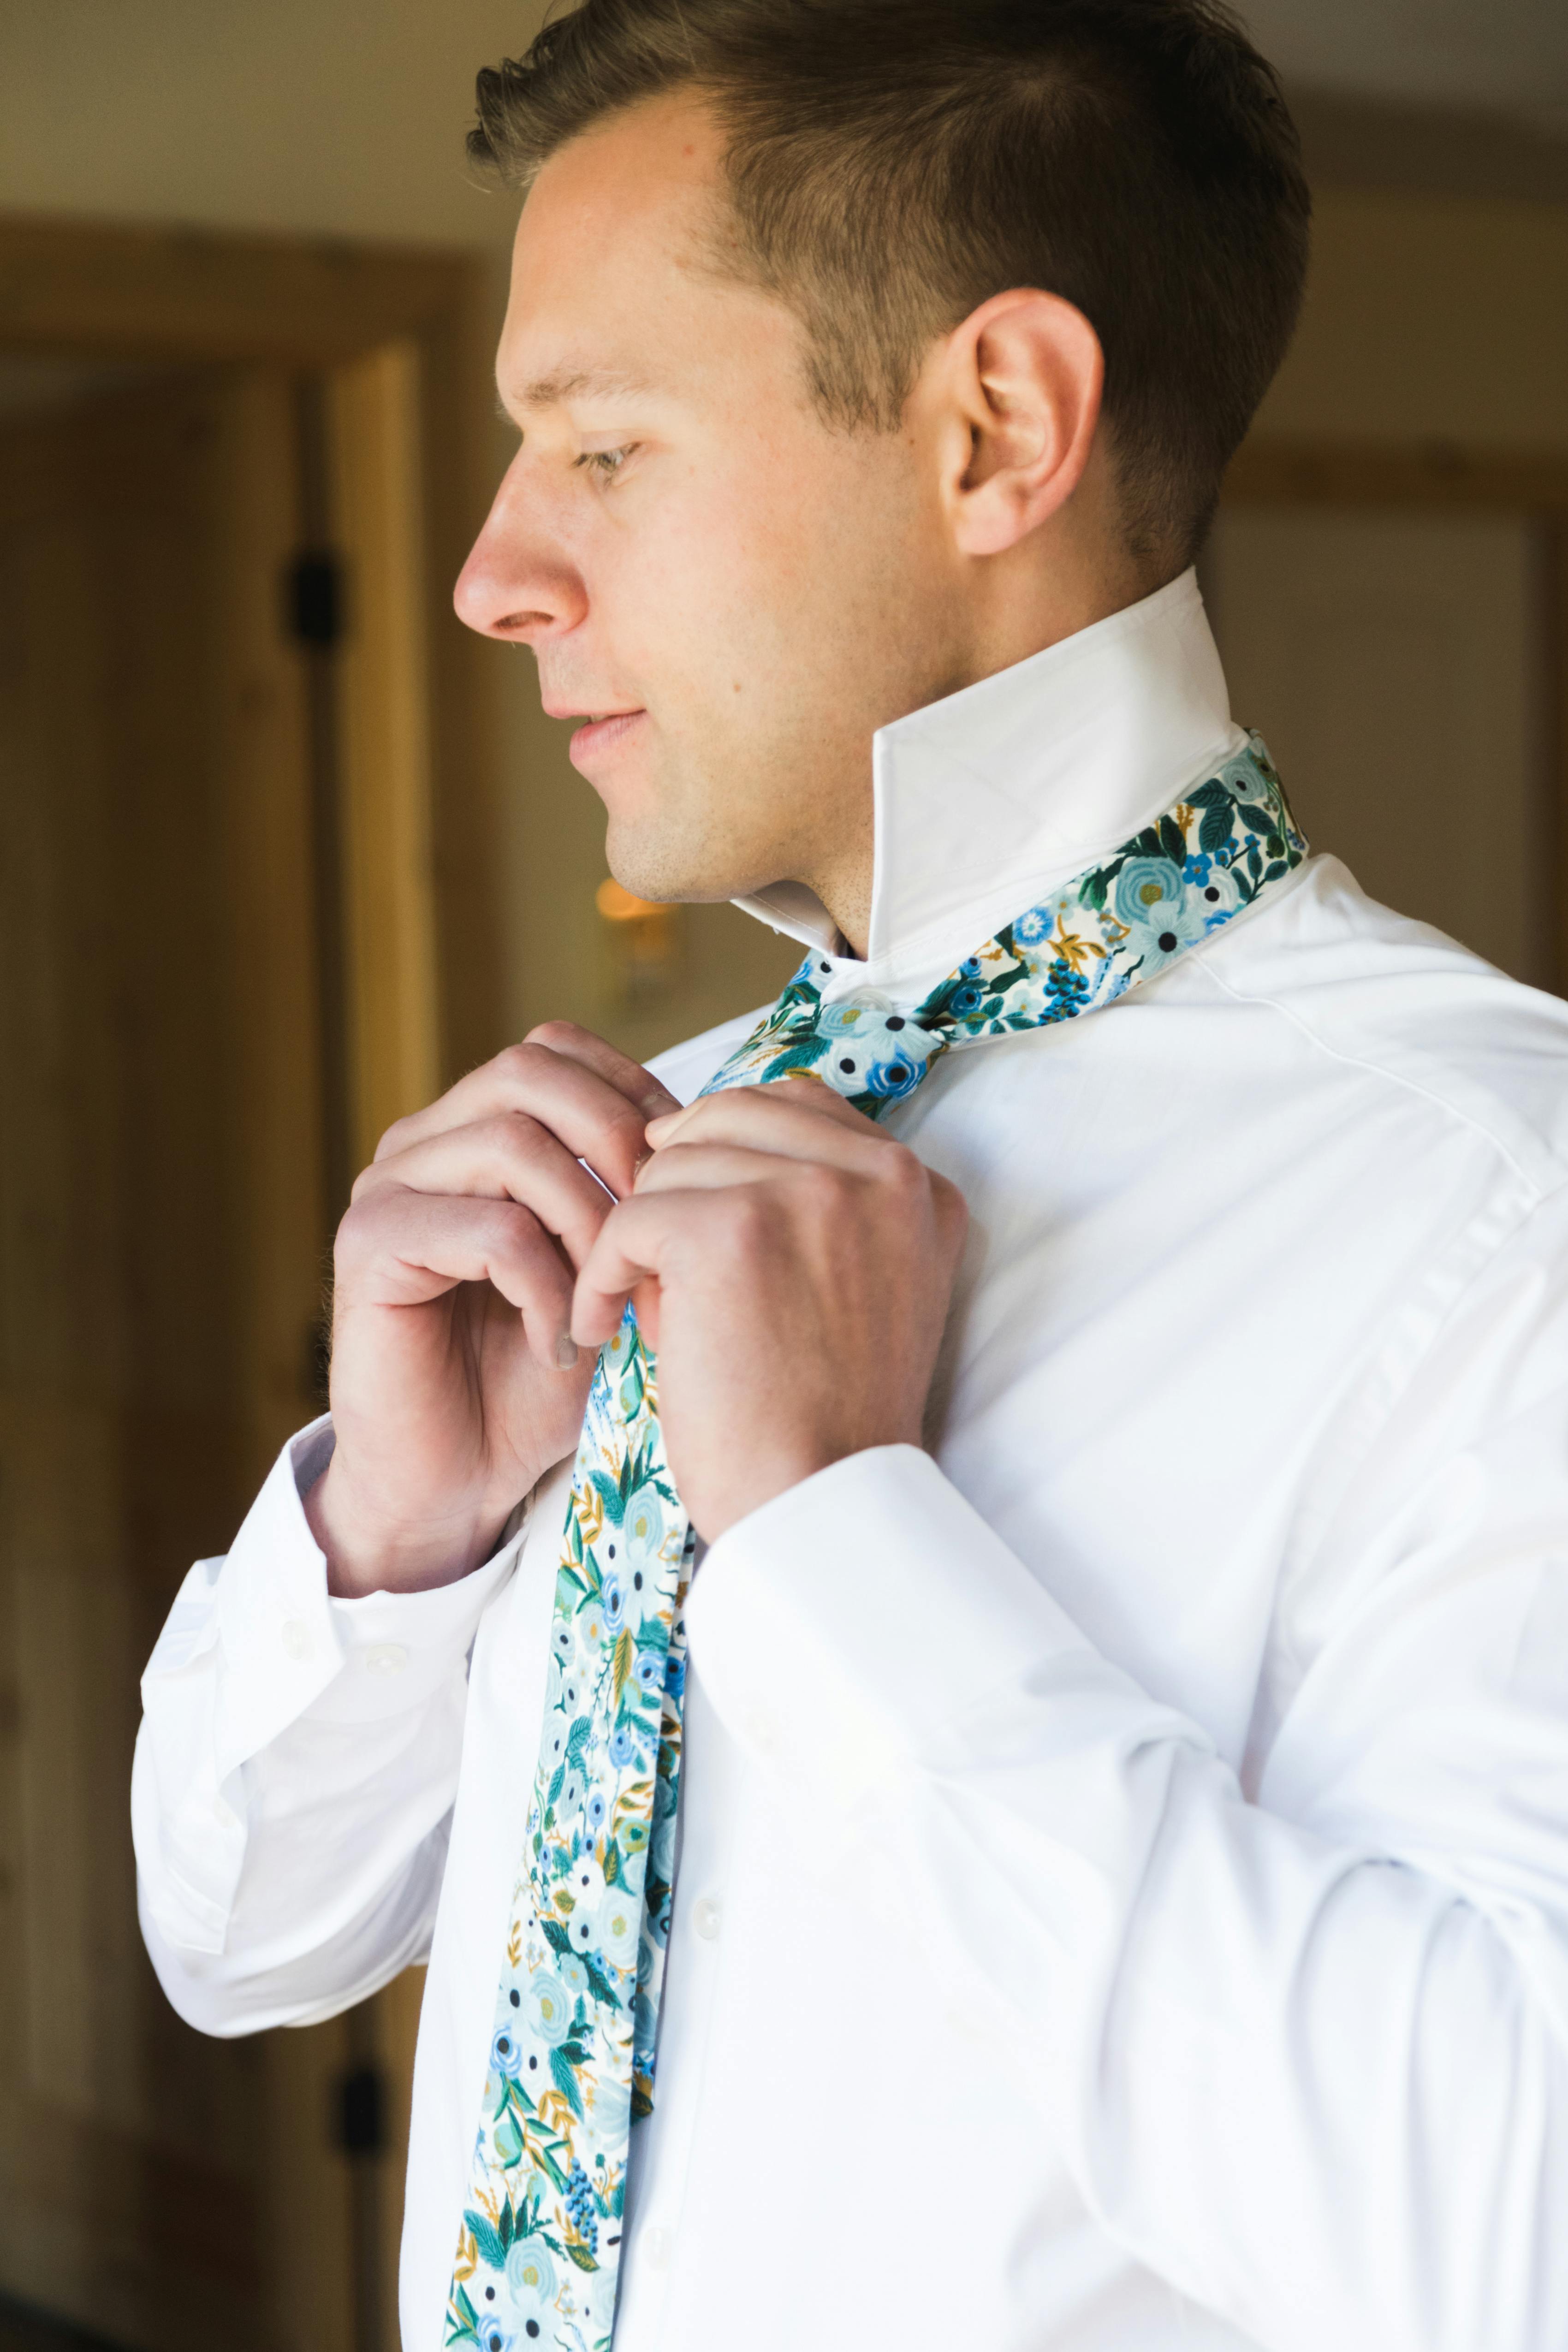
5. Trinity Knit
The Trinity Knot is a complex and distinctive knot with a three-way symmetry, creating a captivating and sophisticated look. Perfect for special occasions where you want to stand out, it pairs well with spread and cutaway collars, where it adds a touch of elegance and intrigue.
Steps for tying a Trinity Knot:
- Drape the tie around your neck with the wide end on the left, extending just below your chest.
- Cross the narrow end over the wide end to the left.
- Bring the narrow end up through the loop between your collar and the tie.
- Pass it down to the left.
- Bring the narrow end behind the wide end to the right.
- Pull it up through the loop.
- Pass it down to the right.
- Cross the narrow end over the front from right to left.
- Bring it up through the loop and pass it down to the left.
- Wrap the narrow end around the knot, bringing it behind the knot to the right.
- Tuck the narrow end through the loop at the back and adjust your knot.
6. Pratt Knot
The Pratt Knot is a medium-sized, symmetrical knot with a neat and professional appearance. It is suitable for professional and semi-formal settings and works well with most types of shirts and ties, so you're sure to nail a clean look with this knot.
Steps for tying the Pratt Knot:
- Drape the tie around your neck with the seams facing outward and the wide end on the right, extending about 12 inches below the narrow end.
- Cross the wide end under the narrow end to the left.
- Bring the wide end up through the loop between your collar and the tie.
- Pass it down to the left.
- Cross the wide end over the narrow end to the right.
- Pull the wide end up through the loop.
- Pass it down through the knot in front.
- Tighten by sliding the knot up to your collar and adjust to lay nicely.

7. Kelvin Knot
The Kelvin Knot is a simple, small, and symmetrical knot that offers a clean and straightforward look. Ideal for casual and semi-formal occasions, and it works best with thin to medium-width ties. Break this knot out when you're hoping for an especially neat appearance.
Steps for tying a Kelvin Knot:
- Drape the tie around your neck with the wide end on the right, extending about 12 inches below the narrow end.
- Cross the wide end under the narrow end to the left.
- Bring the wide end over the narrow end to the right.
- Cross the wide end under the narrow end to the left.
- Pull the wide end up through the loop between your collar and the tie.
- Pass it down through the knot in front.
- Tighten your knot by sliding it up to your collar and adjust accordingly.
8. Oriental Knot
The Oriental Knot is simple and small, making it the most basic and quickest knot to tie. Suitable for casual and everyday wear, it works particularly well with narrow collars and slim ties, providing a minimalistic and effortless style.
Steps for tying an Oriental Knot:
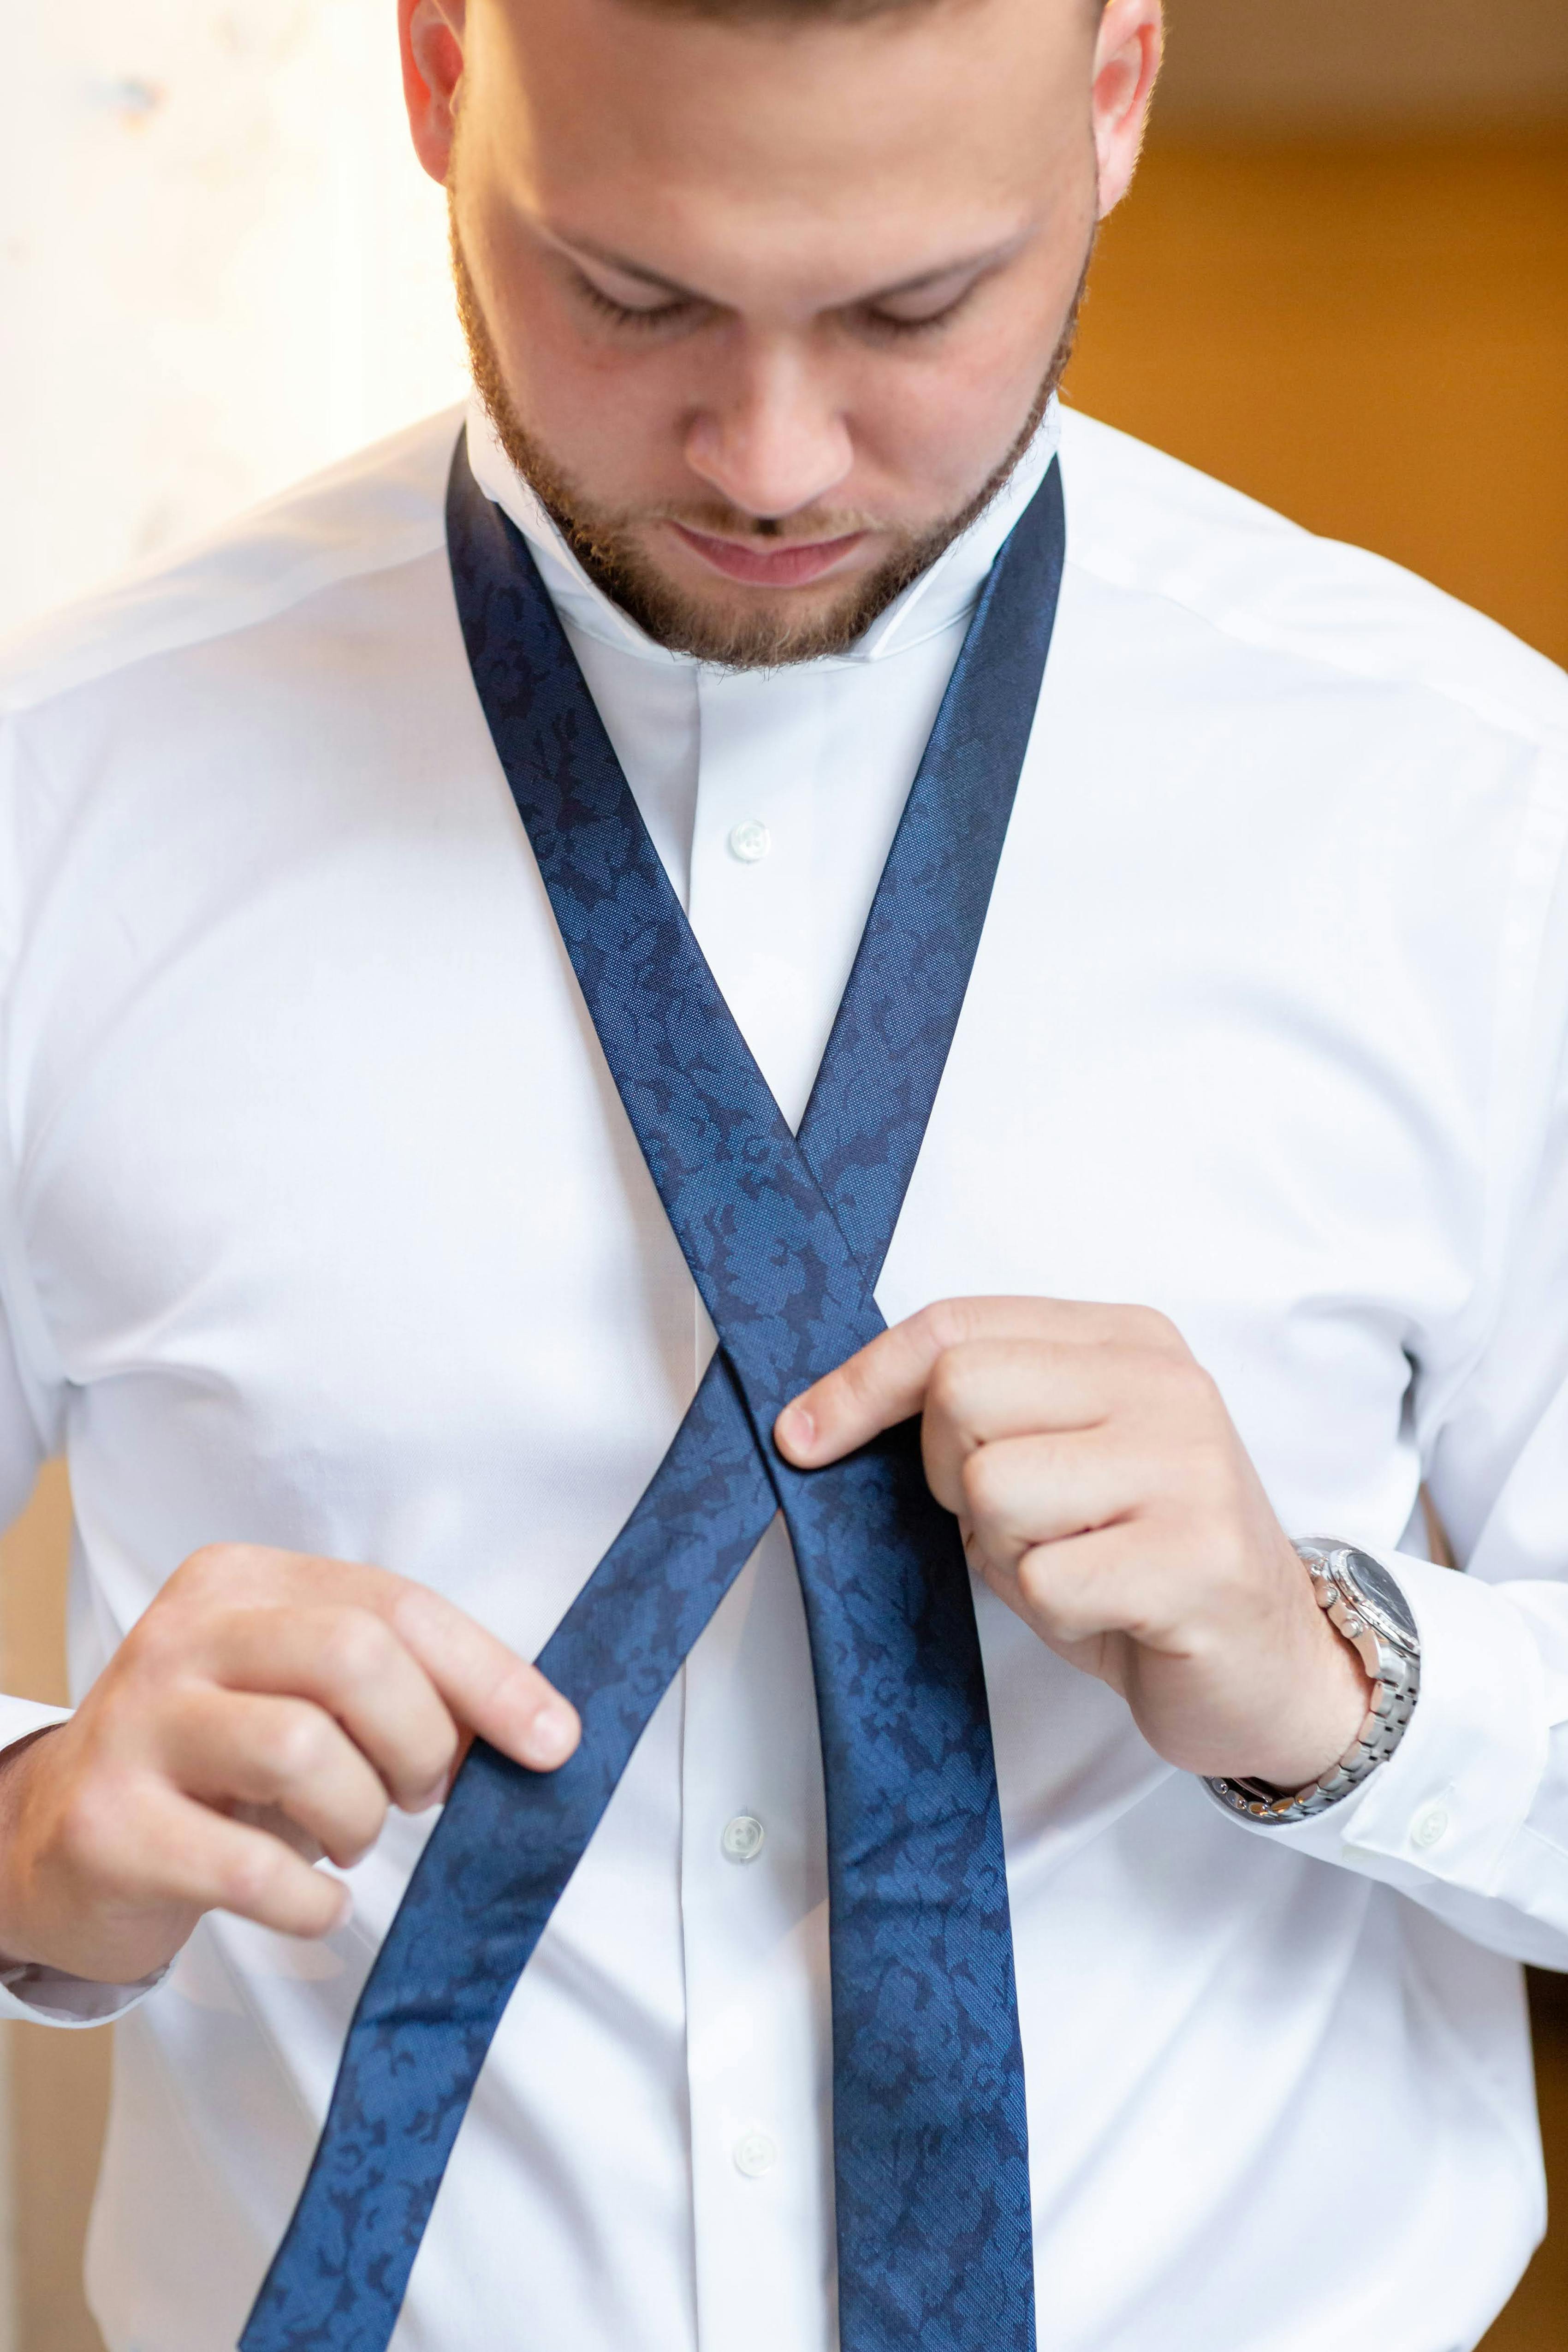
- Drape the tie around your neck with the wide end on the right, extending about 12 inches below the narrow end.
- Cross the wide end under the narrow end to the left.
- Bring the wide end over the narrow end to the right.
- Pull the wide end up through the loop between your collar and the tie.
- Pass it down through the knot in front.
- Slide the knot up to your collar to tighten, then adjust.

Tie Knot FAQs
How do you choose the right tie knot?
Choosing the right tie knot depends on a few key factors: the type of occasion, the style of your shirt collar, and the material of your tie. For formal events, like planning your wedding suiting, larger and more symmetrical knots like the Full Windsor are ideal, because they convey a sense of elegance and confidence. For professional settings, the Half Windsor strikes a good balance between formality and ease of tying, making it versatile for various collar styles.
For casual or everyday wear, simpler knots like the Four-in-Hand or the Oriental Knot work best, especially with knit ties or narrower collars. These knots are less bulky and easier to tie, maintaining a relaxed and effortless look. Make sure to consider the tie material: thicker ties, like knit ties, pair well with simpler knots to avoid excessive bulk, while thinner ties can accommodate more intricate knots. Ultimately, the right tie knot enhances your overall look, so it's worth experimenting with different styles to find the one that best suits your outfit and personal style.
What is the easiest tie knot?
The easiest tie knot to master is the Four-in-Hand Knot. It is simple, quick to tie, and works well with most shirt collars and tie materials. The Four-in-Hand Knot is slightly asymmetrical, giving it a relaxed yet refined appearance, making it suitable for both casual and professional settings. Its straightforward steps make it a go-to choice for anyone looking to tie a tie with minimal hassle.
When you’re dressing up, pairing your tie with a set of stylish cufflinks can elevate your outfit. Cufflinks add a touch of elegance and can complement the simplicity of the Four-in-Hand Knot, creating a cohesive look.
Why is it important to know how to tie a necktie?
Knowing how to tie a necktie is a fundamental skill that enhances your appearance and boosts your confidence in both professional and formal settings. A well-tied tie complements your outfit, conveying a sense of attention to detail and sophistication. Mastering different tie knots allows you to choose the one that best suits the occasion, your shirt collar, and the tie material, ensuring you always look your best.
Additionally, understanding how to place a tie bar correctly can further refine your look. A tie bar not only keeps your tie in place but also adds a touch of style to your ensemble.
Tying It Up: How to Tie Different Types of Ties
Mastering the art of tying different types of tie knots is essential for presenting yourself with style and confidence, whether it's for daily business attire, special occasions, or casual outings. Understanding the nuances of various knots—from the classic Four-in-Hand and versatile Half Windsor to the intricate Eldredge and eye-catching Trinity—allows you to tailor your look to any setting and outfit.
For those preparing for significant events, such as choosing wedding suit styles, SuitShop offers an excellent source for all your formalwear needs. From an extensive selection of neckties to complete suit ensembles, dress shoes, and more, SuitShop ensures you look your best. Utilize our Fit Finder and Fit Guide to achieve a perfect fit, making the process of dressing well both easy and enjoyable. Whether you're dressing for work, a wedding, or any formal event, SuitShop has you covered with style and sophistication.

Lily Ertischek
Lily is constantly reading, keeping up with the latest TV, and seeking out the best bites. She lives in New York City.


